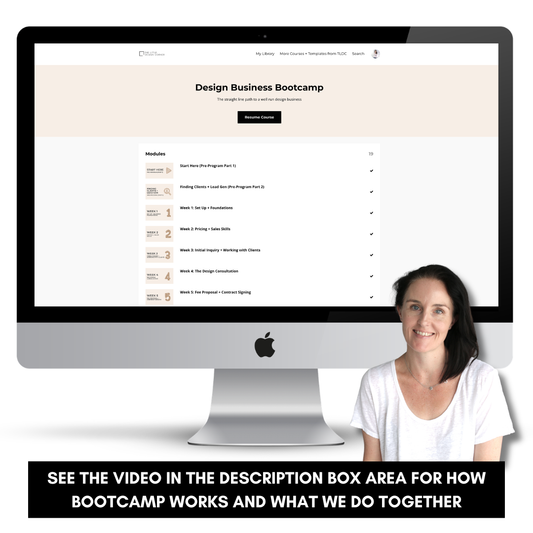
Having good photographs of your interior design projects is an important part of marketing your design business.
However, when you are first getting started professional photography can be out of reach for most designers due to the costs involved.
But this doesn’t mean that you can’t get some professional looking photographs that you can use for your website and social media using just your phone and a bit of know-how about how to use lighting and composition.
I am definitely not a professional photographer but over the years of photographing my own interior design projects I have learned a number of tips for how to take pretty good interiors photos. In fact, besides a couple of projects that I have paid to have professionally photographed, all the photos you see on my website have been taken by me, mostly just using my iPhone!
Here’s what I’ve learned about how to improve my interior design photos after photographing lots of projects myself.
Use natural lighting
When photographing interiors make sure you have the best natural light you can get and that you leave all artificial lights off.
You might think this is a weird suggestion as lights will help to brighten your images (and that’s true) but artificial light also casts a yellow tone across your photos, which can look ugly when they are published.
Without artificial light your images will look ‘whiter’ (rather than yellow) and you will be able to avoid strange shadows being cast by overhead or artificial lighting. You will also find that you can use editing software to brighten up an image if the natural light source isn’t strong enough, which I will talk about below.
Natural light is different across different times of day though, so make sure you also read below about my tips for avoiding certain times of day when you are shooting your interiors.

Edit all your photos
Even if your room is quite bright to start with, make sure that you edit all photos before you upload them to social media or your website.
Most people prefer the look of bright looking interiors photographs and these tend to stand out more on social media, Pinterest or websites. So take time to edit every photo that you take.
The hard way of doing this is to use professional editing software like Photoshop or something similar.
But that all sounds like hard work to me :) So I just use an app called A ColorStory to do this with all my images.
I have the same preset that I use each time I edit my photos, which means that all my images have a consistent editing style once they are edited, which I like.

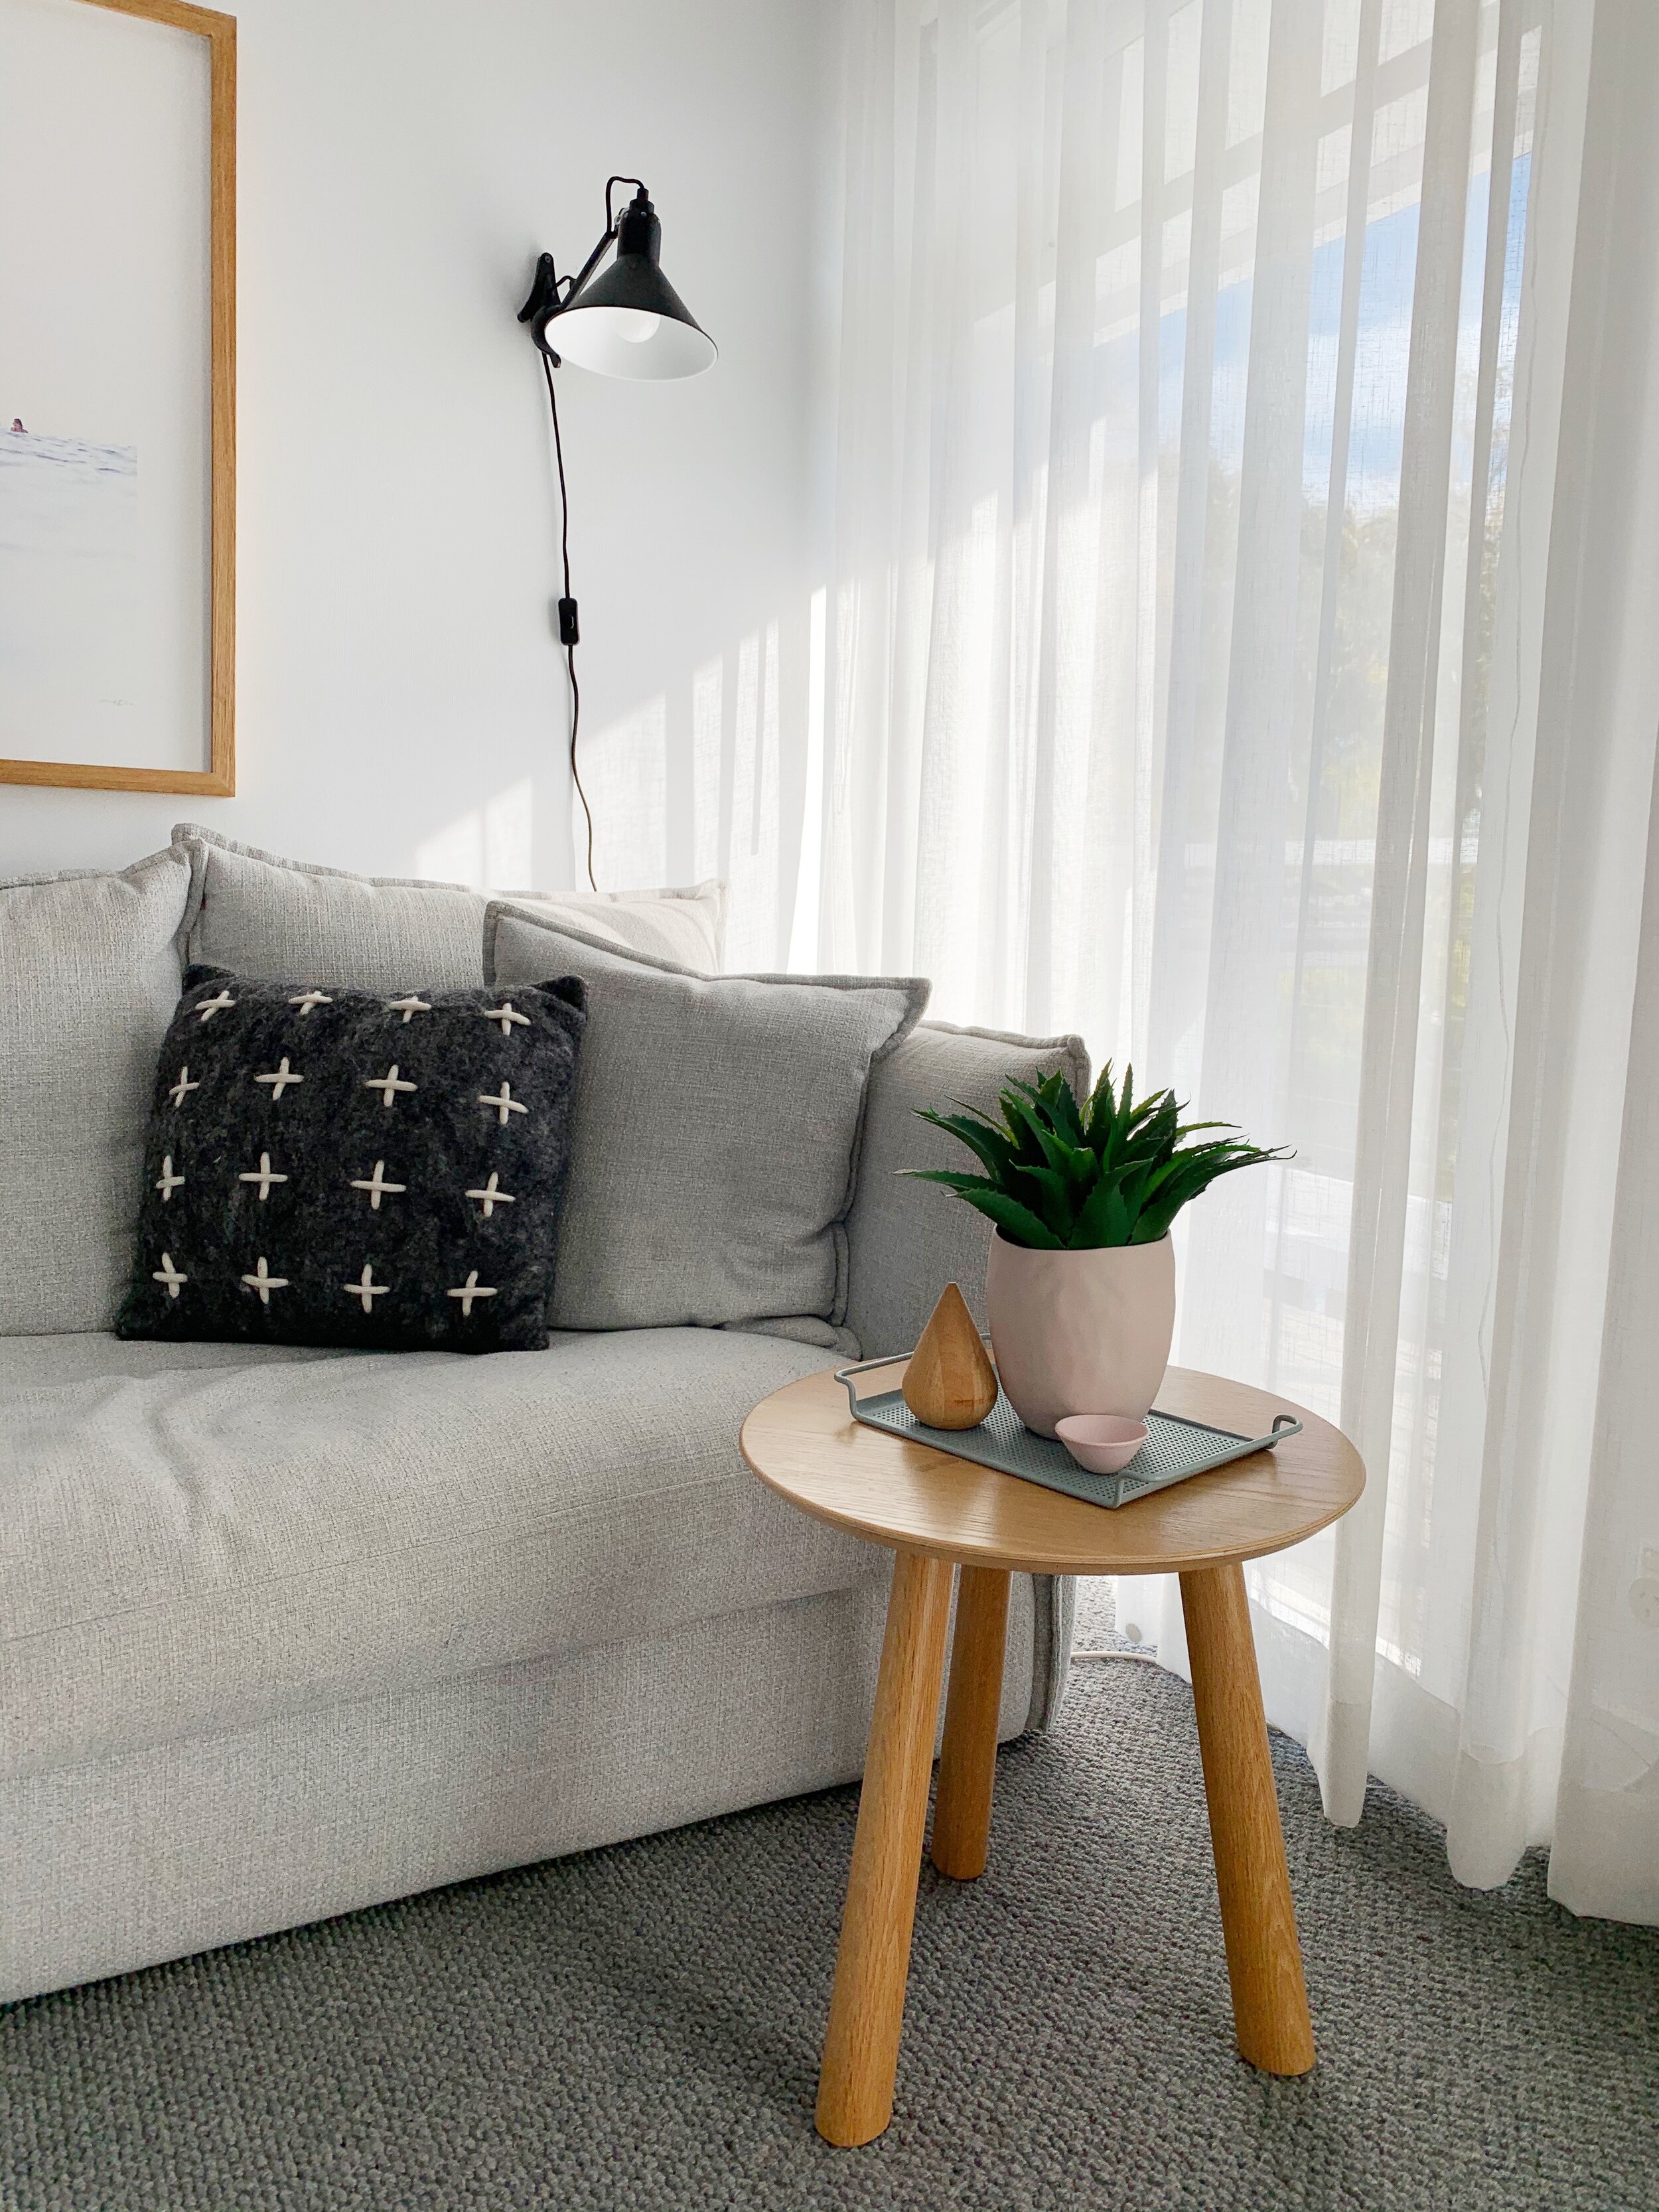
BEFORE EDITING

BEFORE EDITING

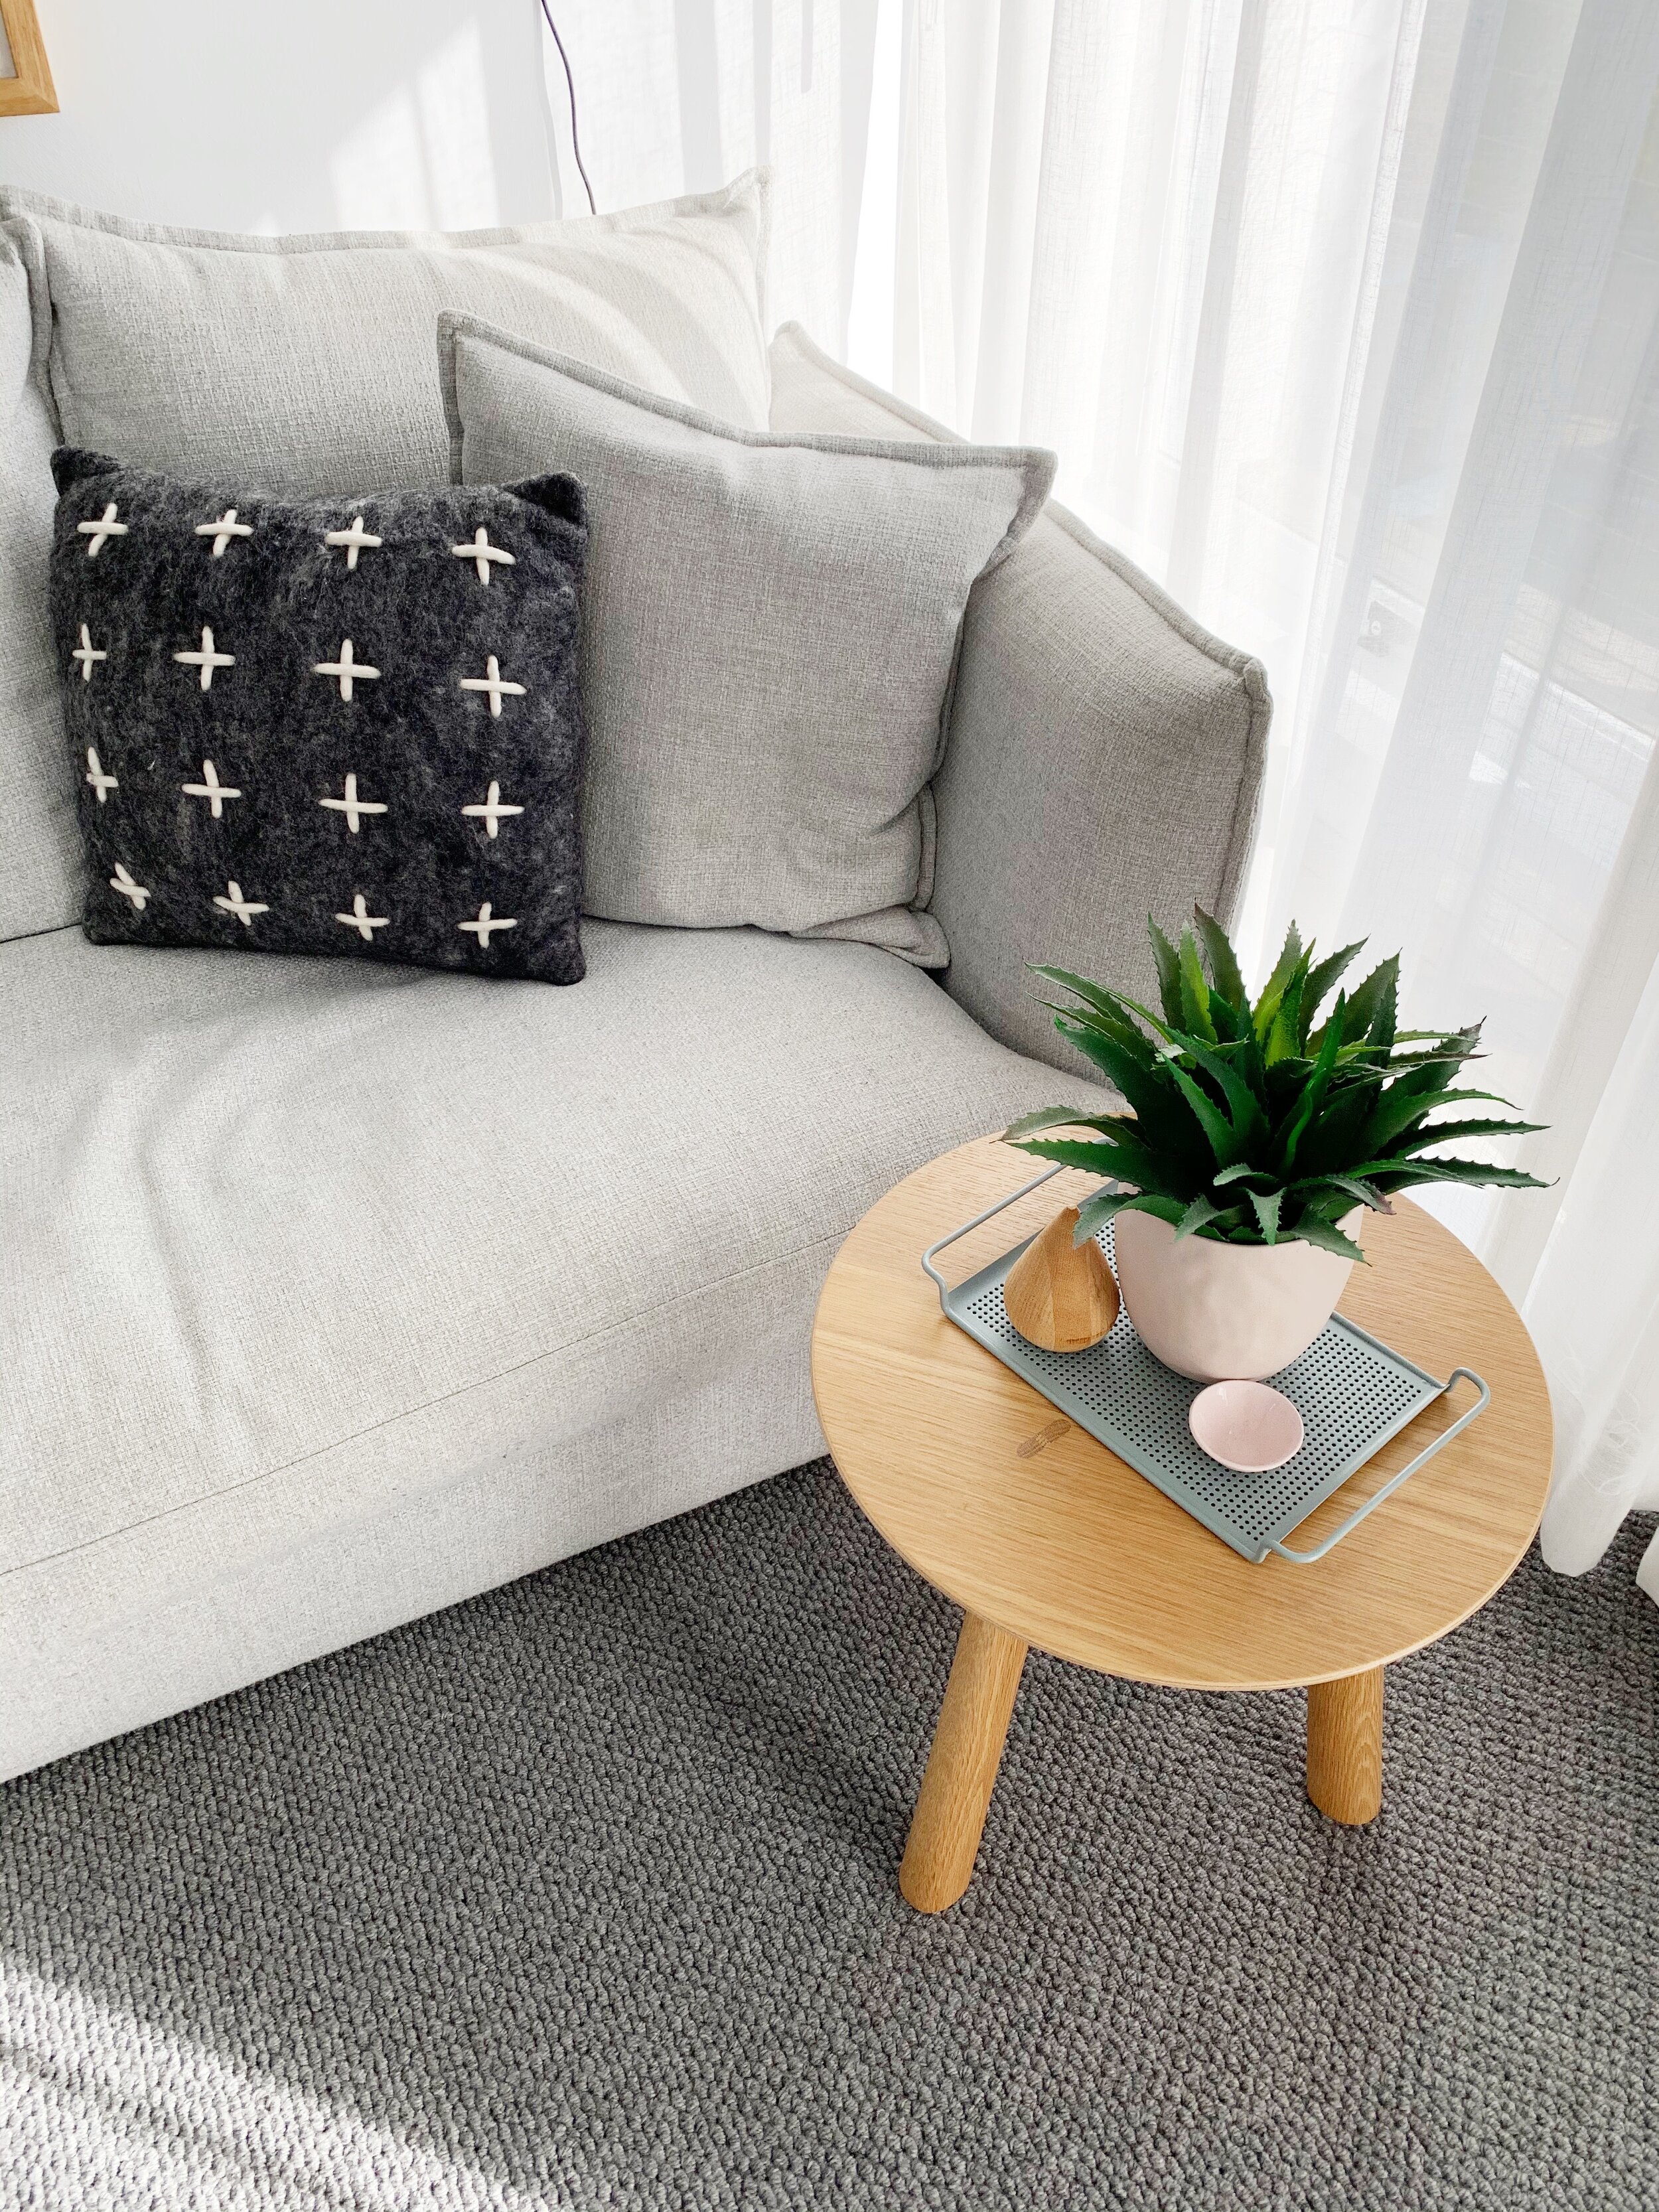
AFTER EDITING

AFTER EDITING
Shoot early in the morning or late in the afternoon
The best time of day to shoot interiors photos are in the morning or late in the afternoon.
Where possible, you want to avoid the middle of the day as harsh sunlight can cast strange light beams and shadows across your images (which you can see in the sofa images above, which I was taking to show you editing style but which I didn’t take at a good time of day for sunlight).
Overcast days are the best days for interiors photography as it avoids harsh sunlight coming through windows and doors and instead creates a soft glow across the room.

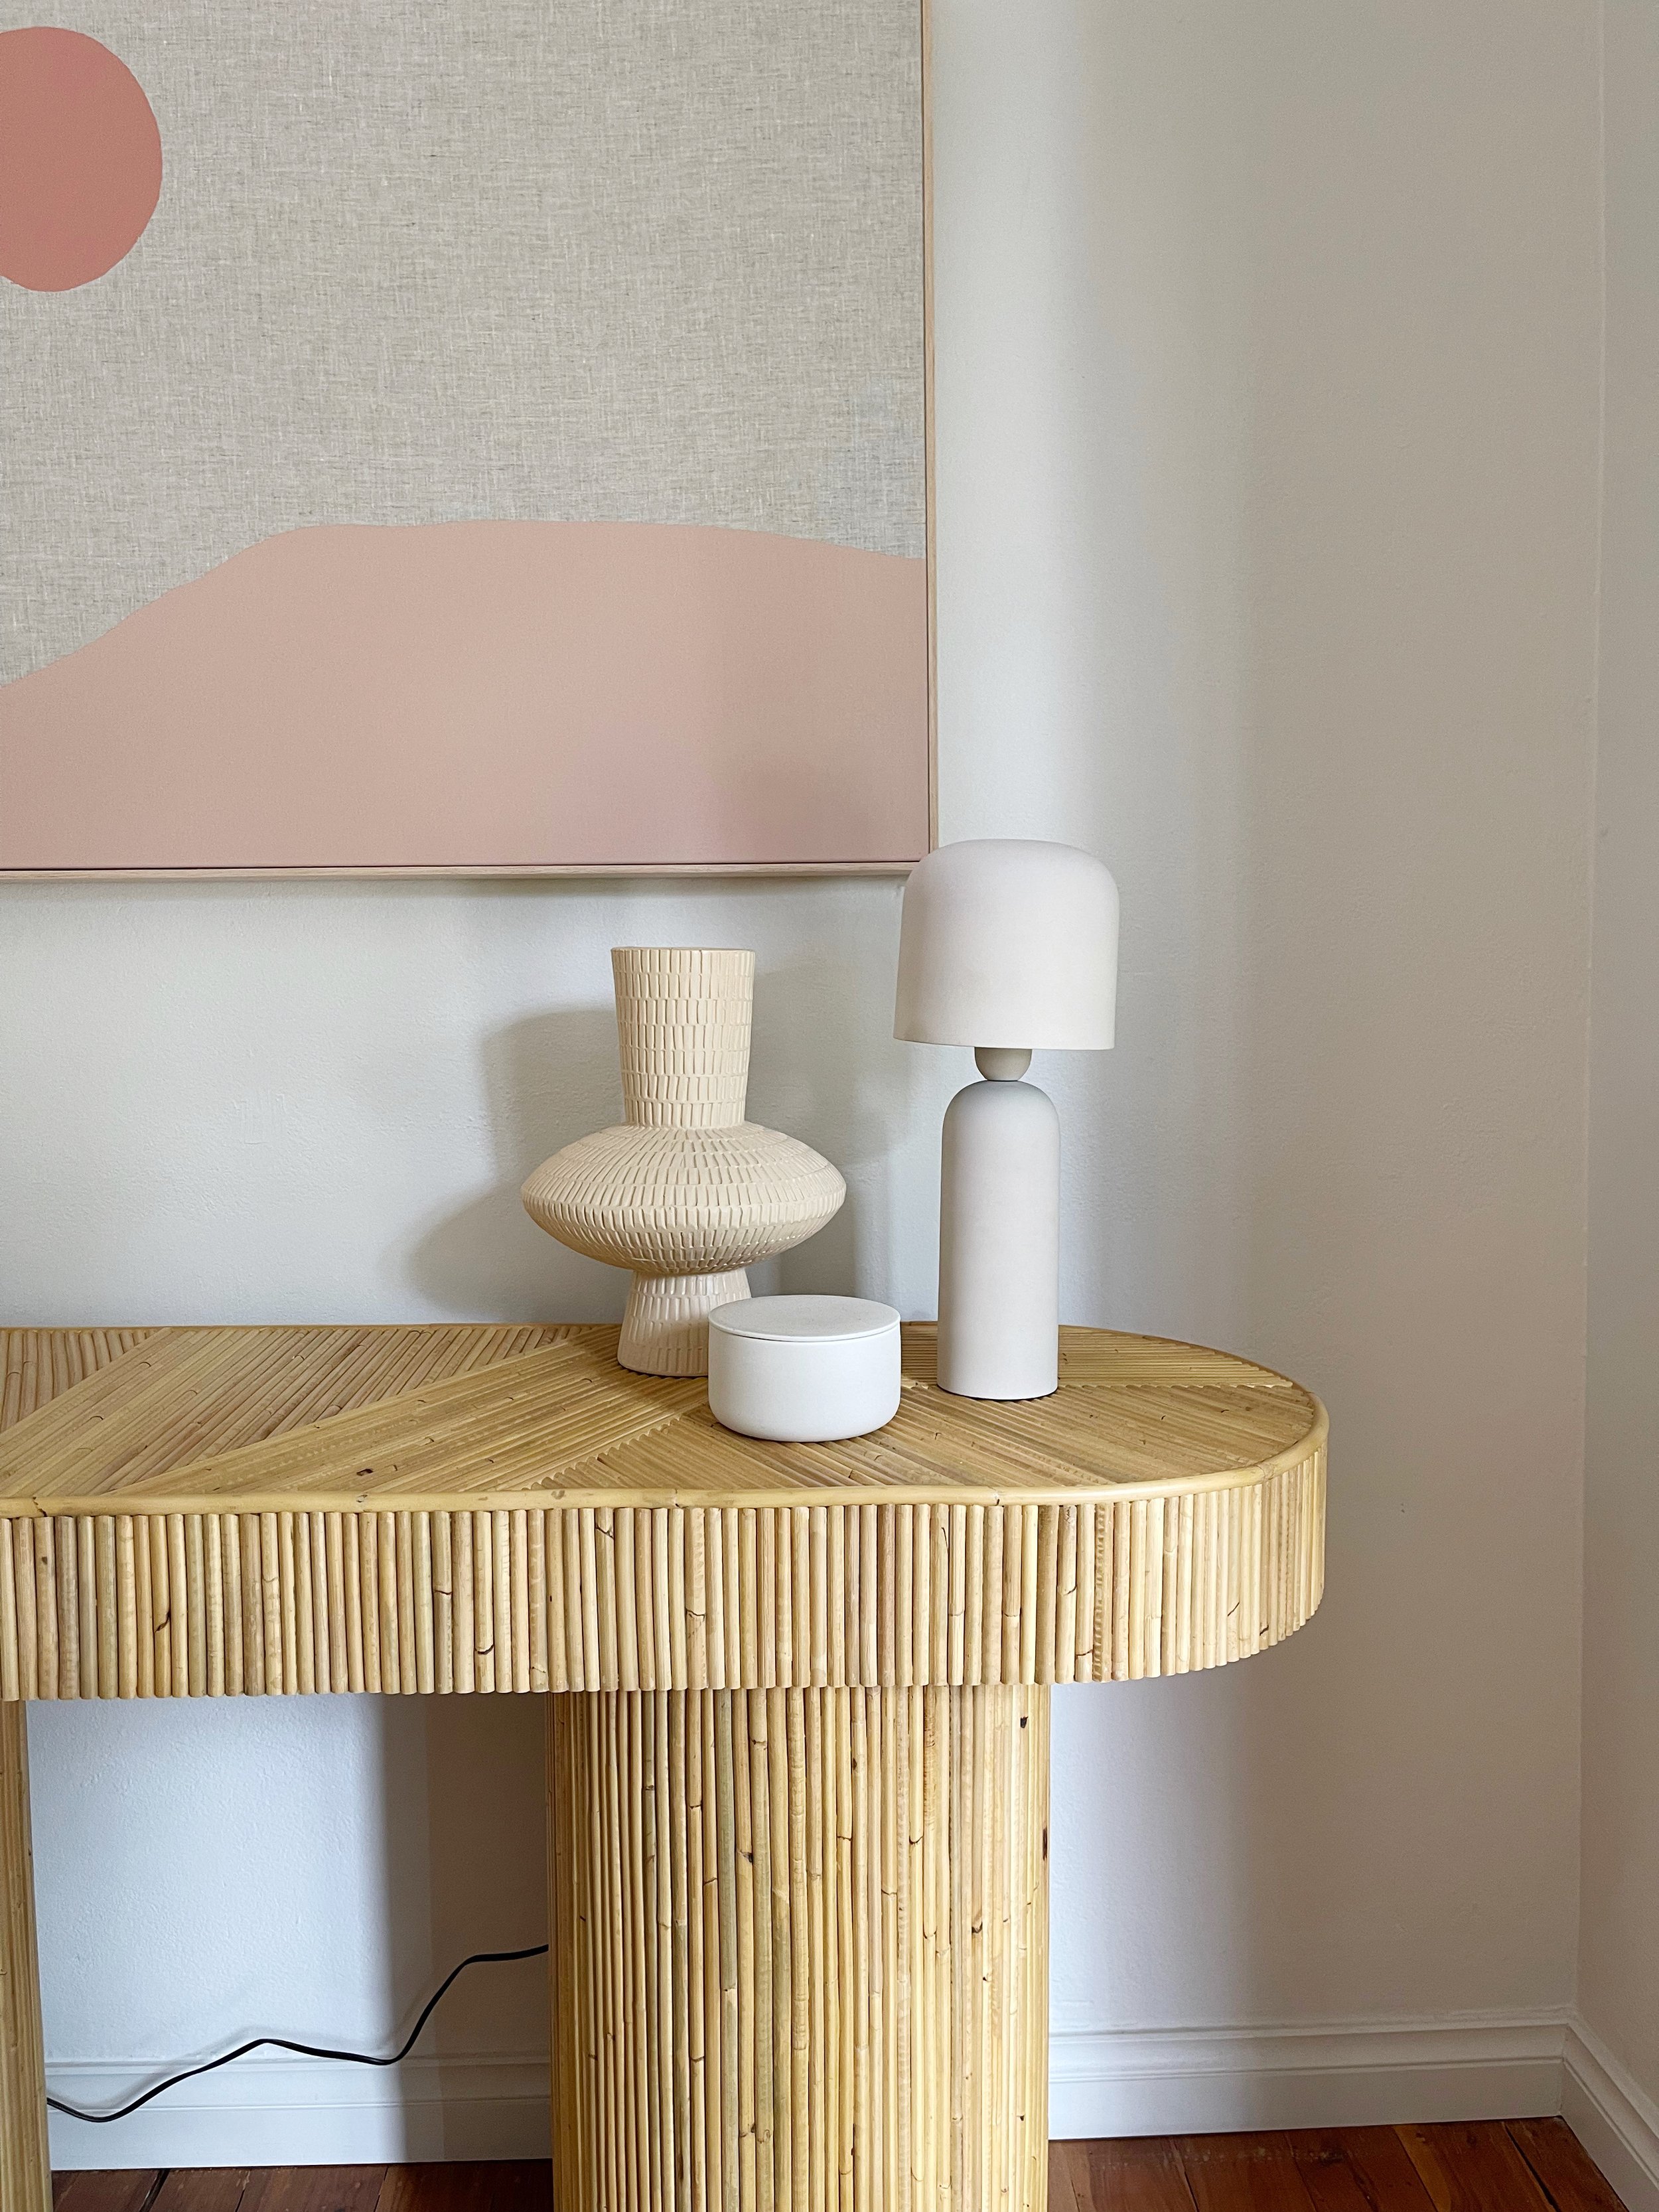
PHOTO TAKEN EARLY IN MORNING USING iPHONE
Shoot straight on
One of the quickest ways to improve your images is to think about your composition.
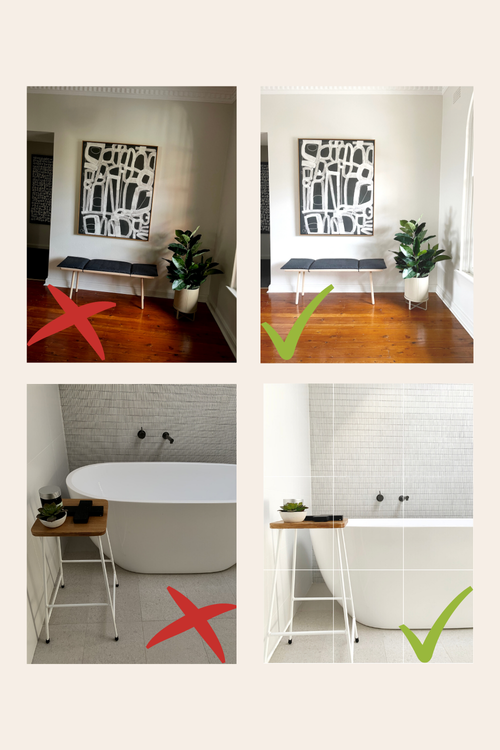
Many people shoot images from corners of rooms or top down on to things (e.g. in the first bath picture you can see below). Thinking a bit more about the composition of your images will improve it dramatically and give them more of a professional look.
In the second bath image below I knelt down on to the floor to get this image straight on. It looks so much better than the one taken from the top down.
In the hallway image I simply lined things up better to improve the shot.
So think about whether changing your body position will improve how your image looks. And if you are in doubt about which angle to shoot your room in - then straight on is always a good bet!

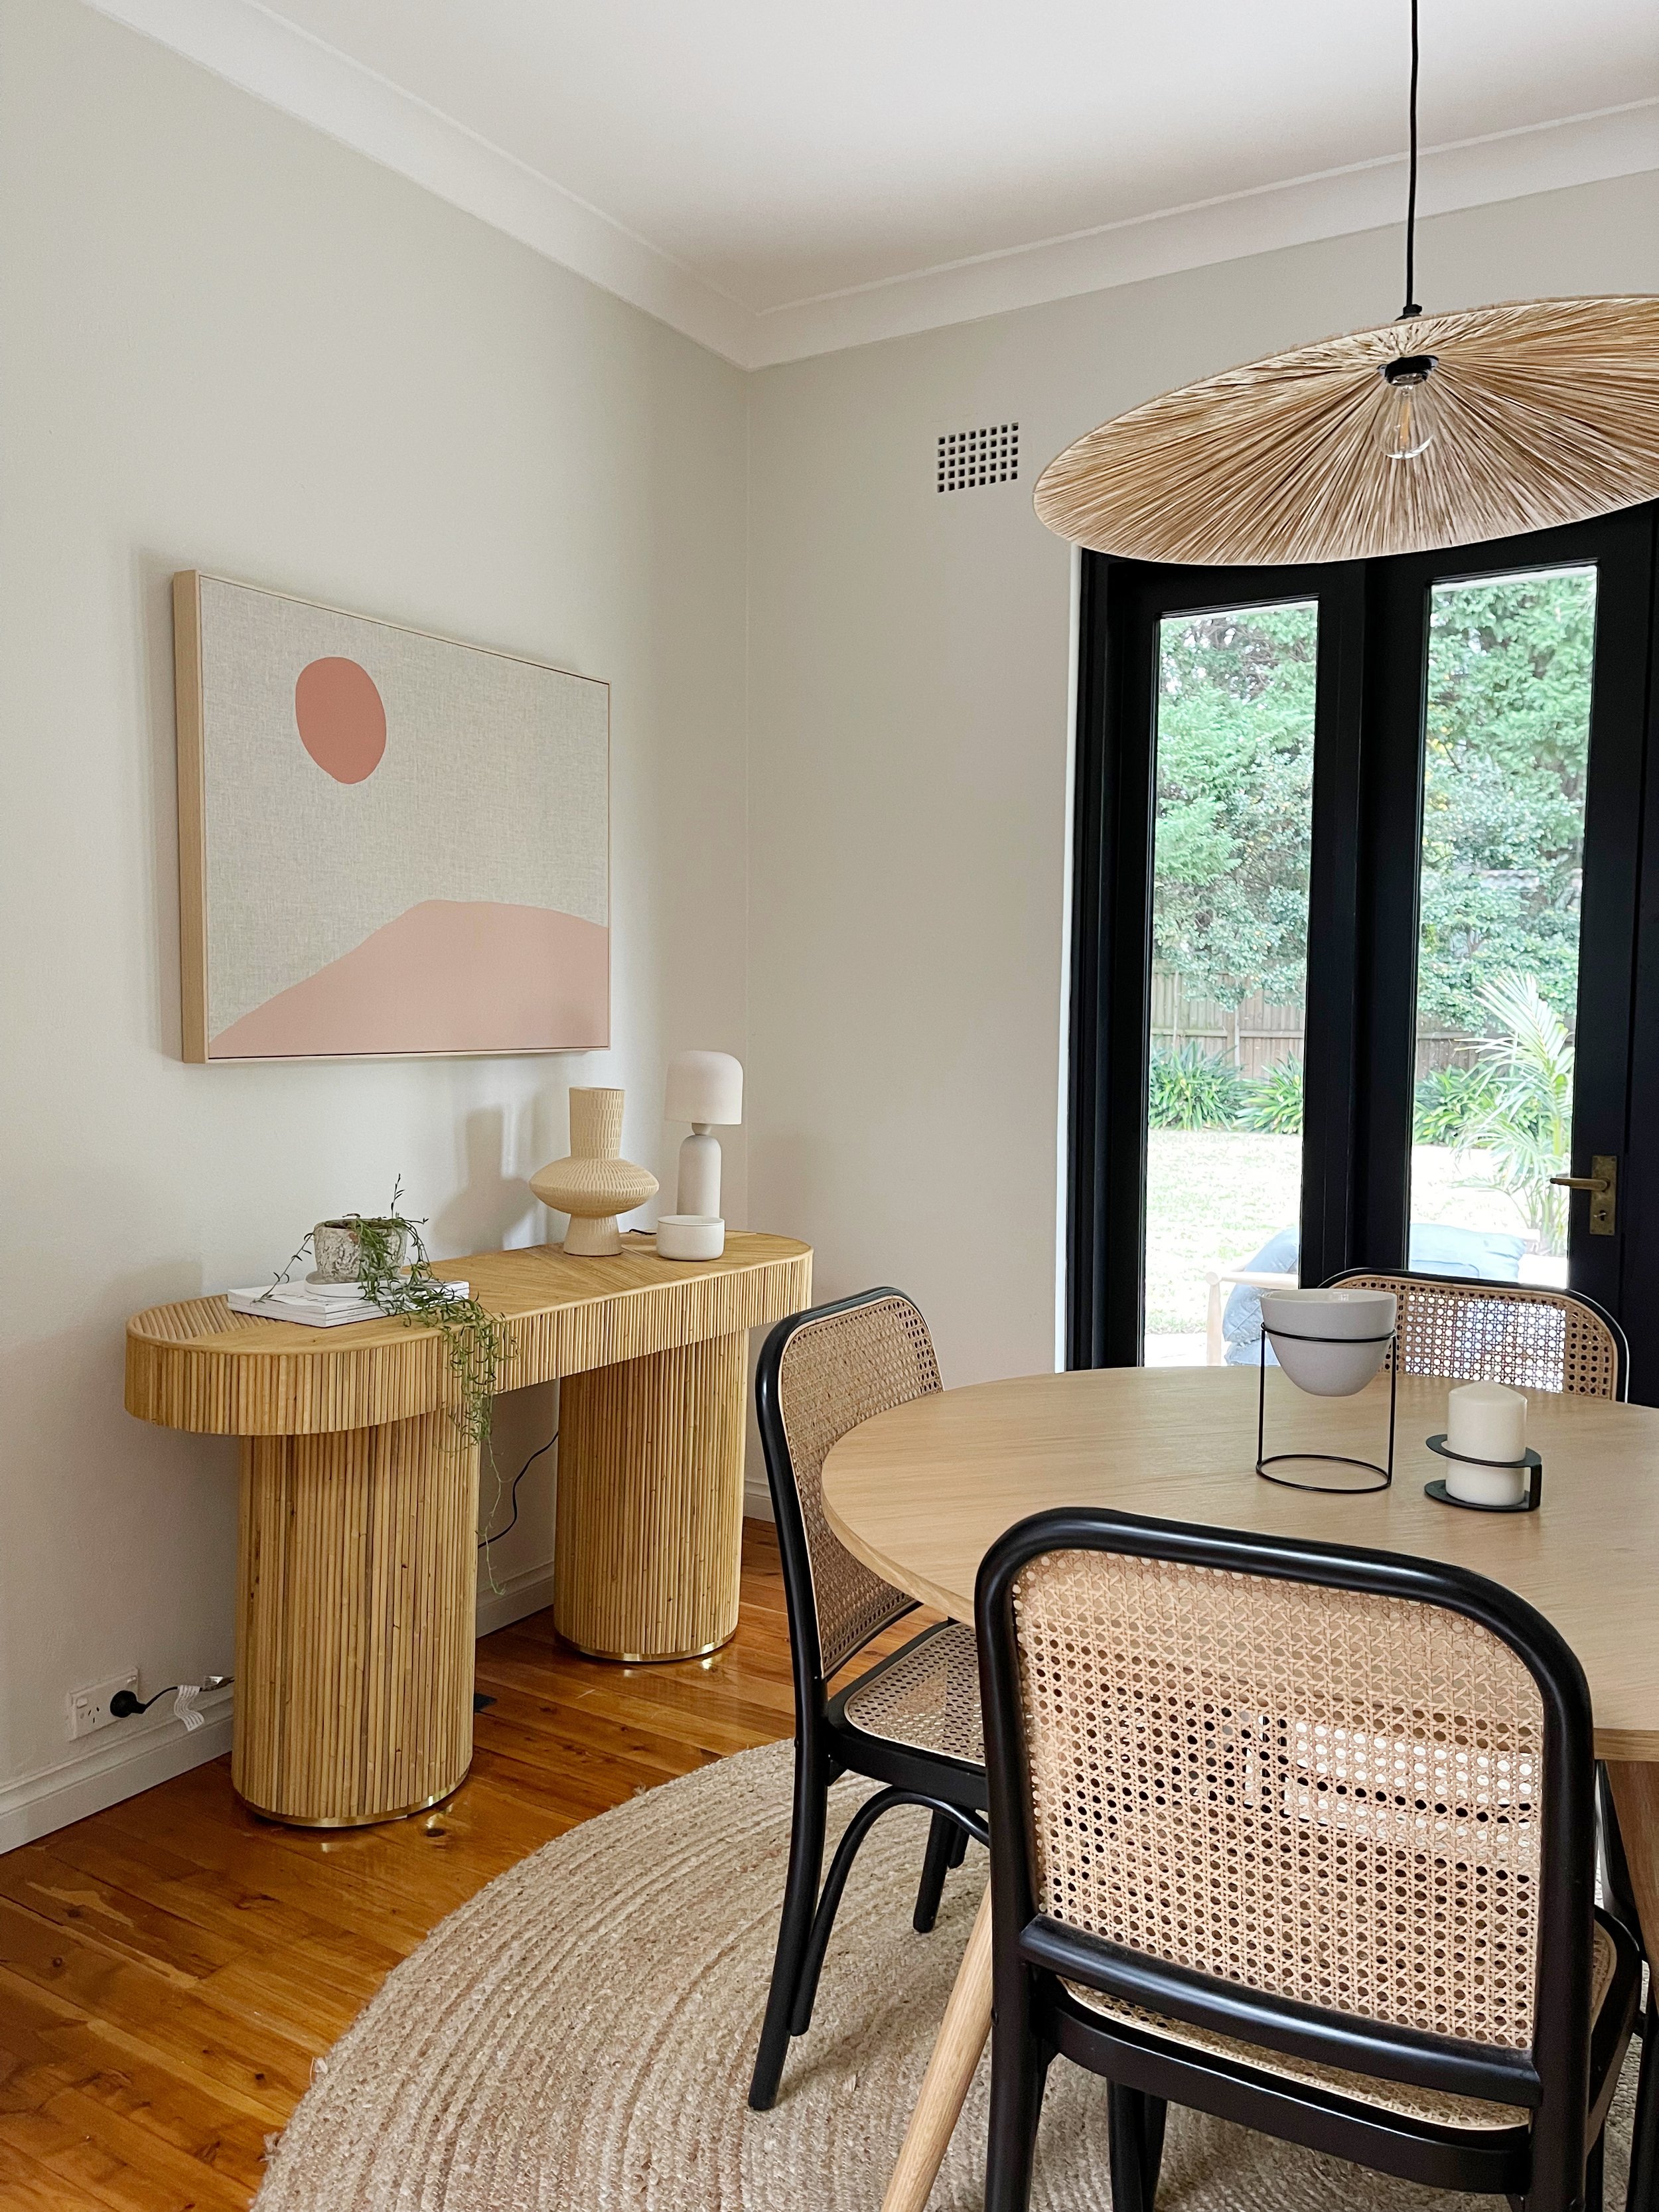
POOR COMPOSITION

POOR COMPOSITION

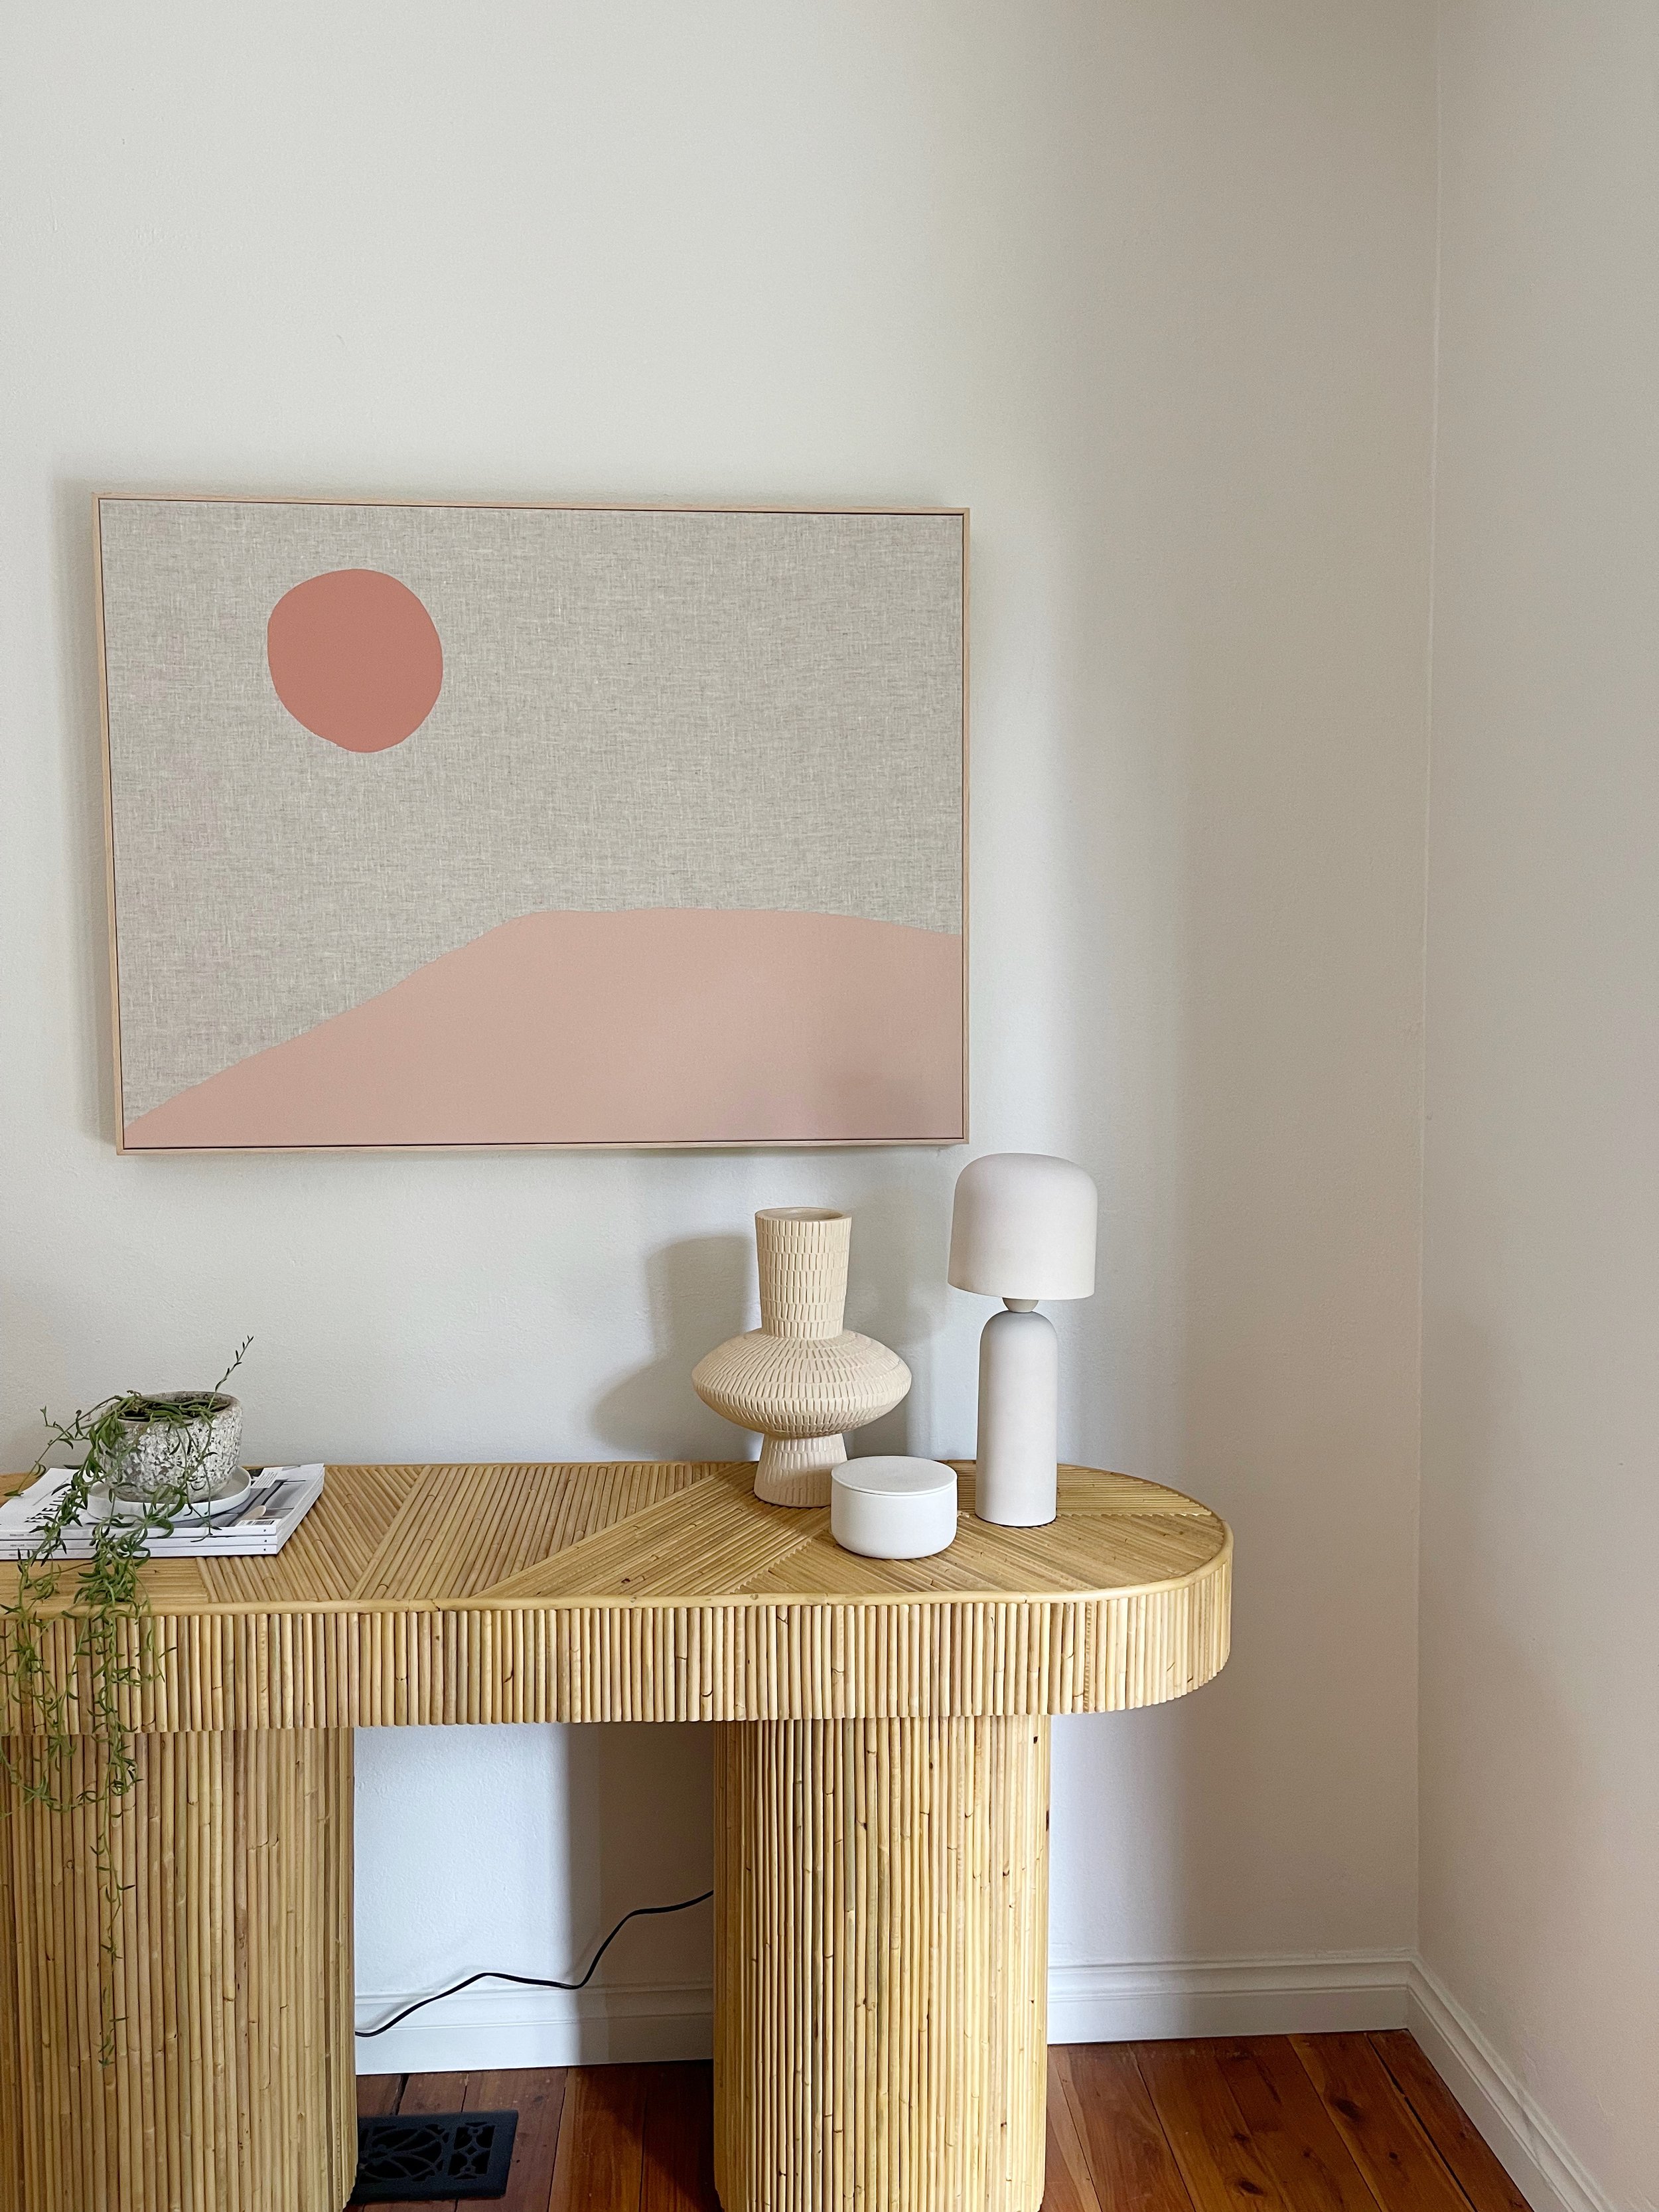
BETTER COMPOSITION

BETTER COMPOSITION
Shoot through doorways to get better angles
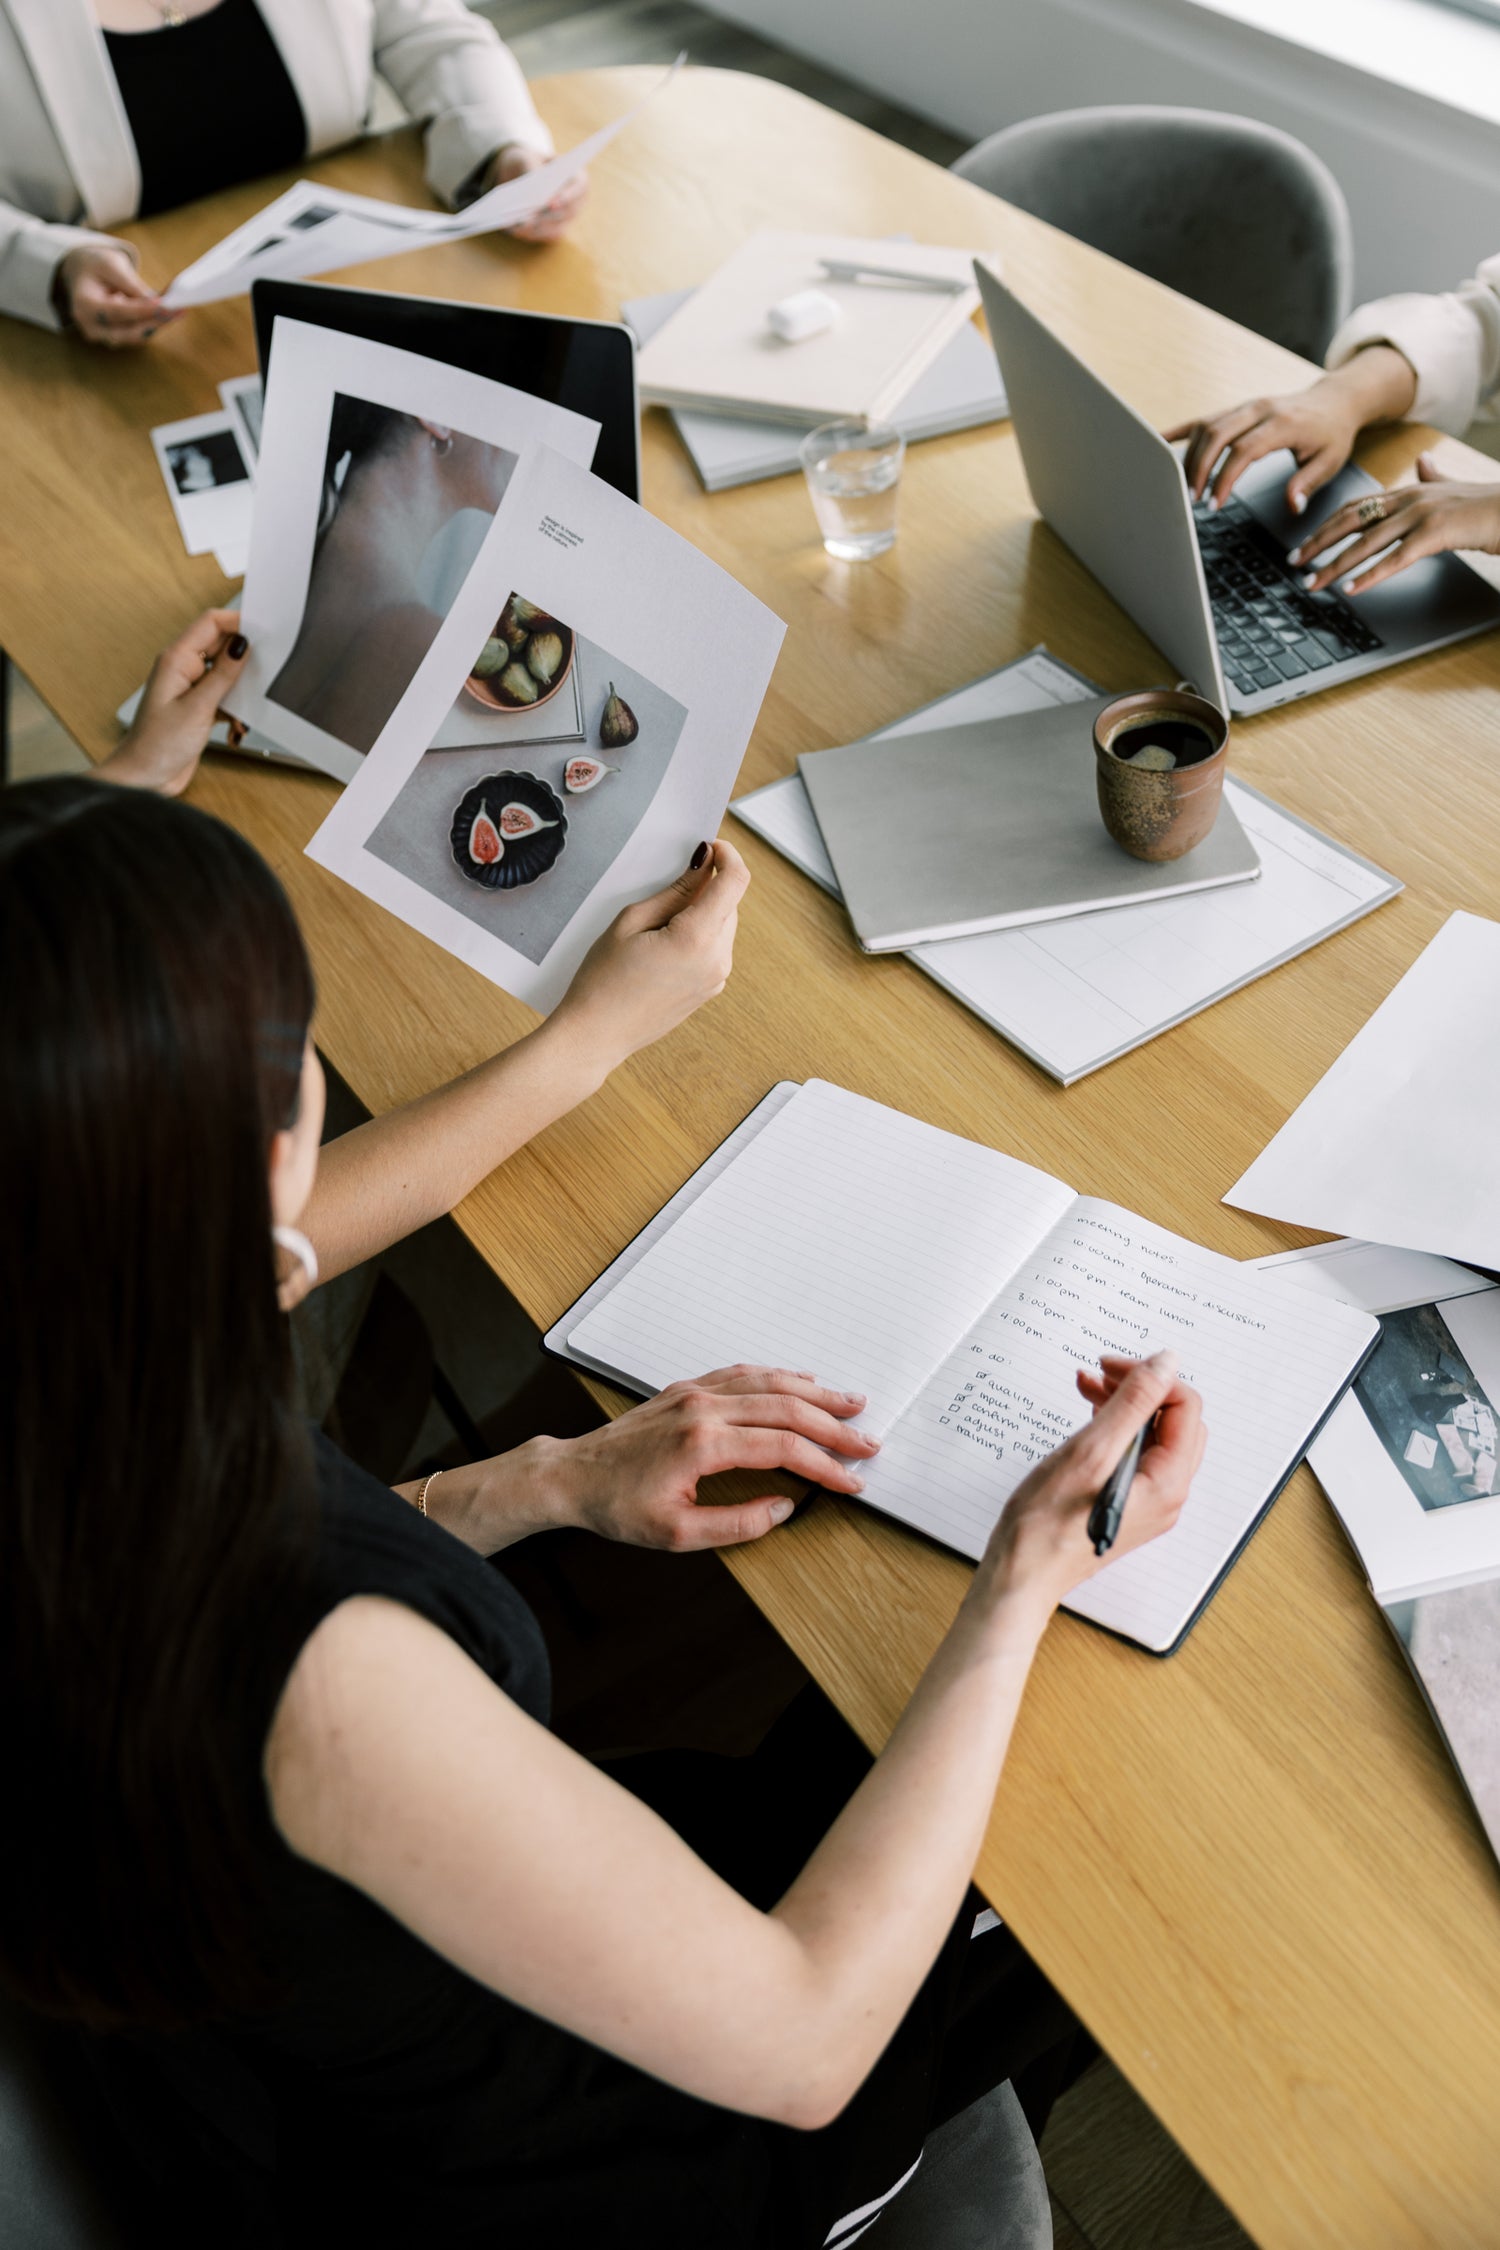
In the image below I was standing out in the hallway and shooting back through the door of this bedroom.
By moving out of the room I was able to get a much wider shot of this space and include more detail of the room. If I had tried to take the image from within the room I wouldn’t have been able to get so much of it in my photo.
So think about whether your image might be improved by standing outside the room and shooting back through the doorway.

Line up your lines
Another way to quickly and easily improve your photos is to make sure that you line up any angles and lines that are in your photo so they are straight.
As you can see in the examples below (as well as in the images above), this image of the feature wall light looks terrible in the first image, but simply by straightening everything up and applying a little bit of editing the photo is massively improved.
To help with this just follow the gridlines that you get in the camera app on your iPhone and make sure that your lines are all straight. This simple trick will massively improve the professionalism of your photos.


LINES NOT ALIGNED
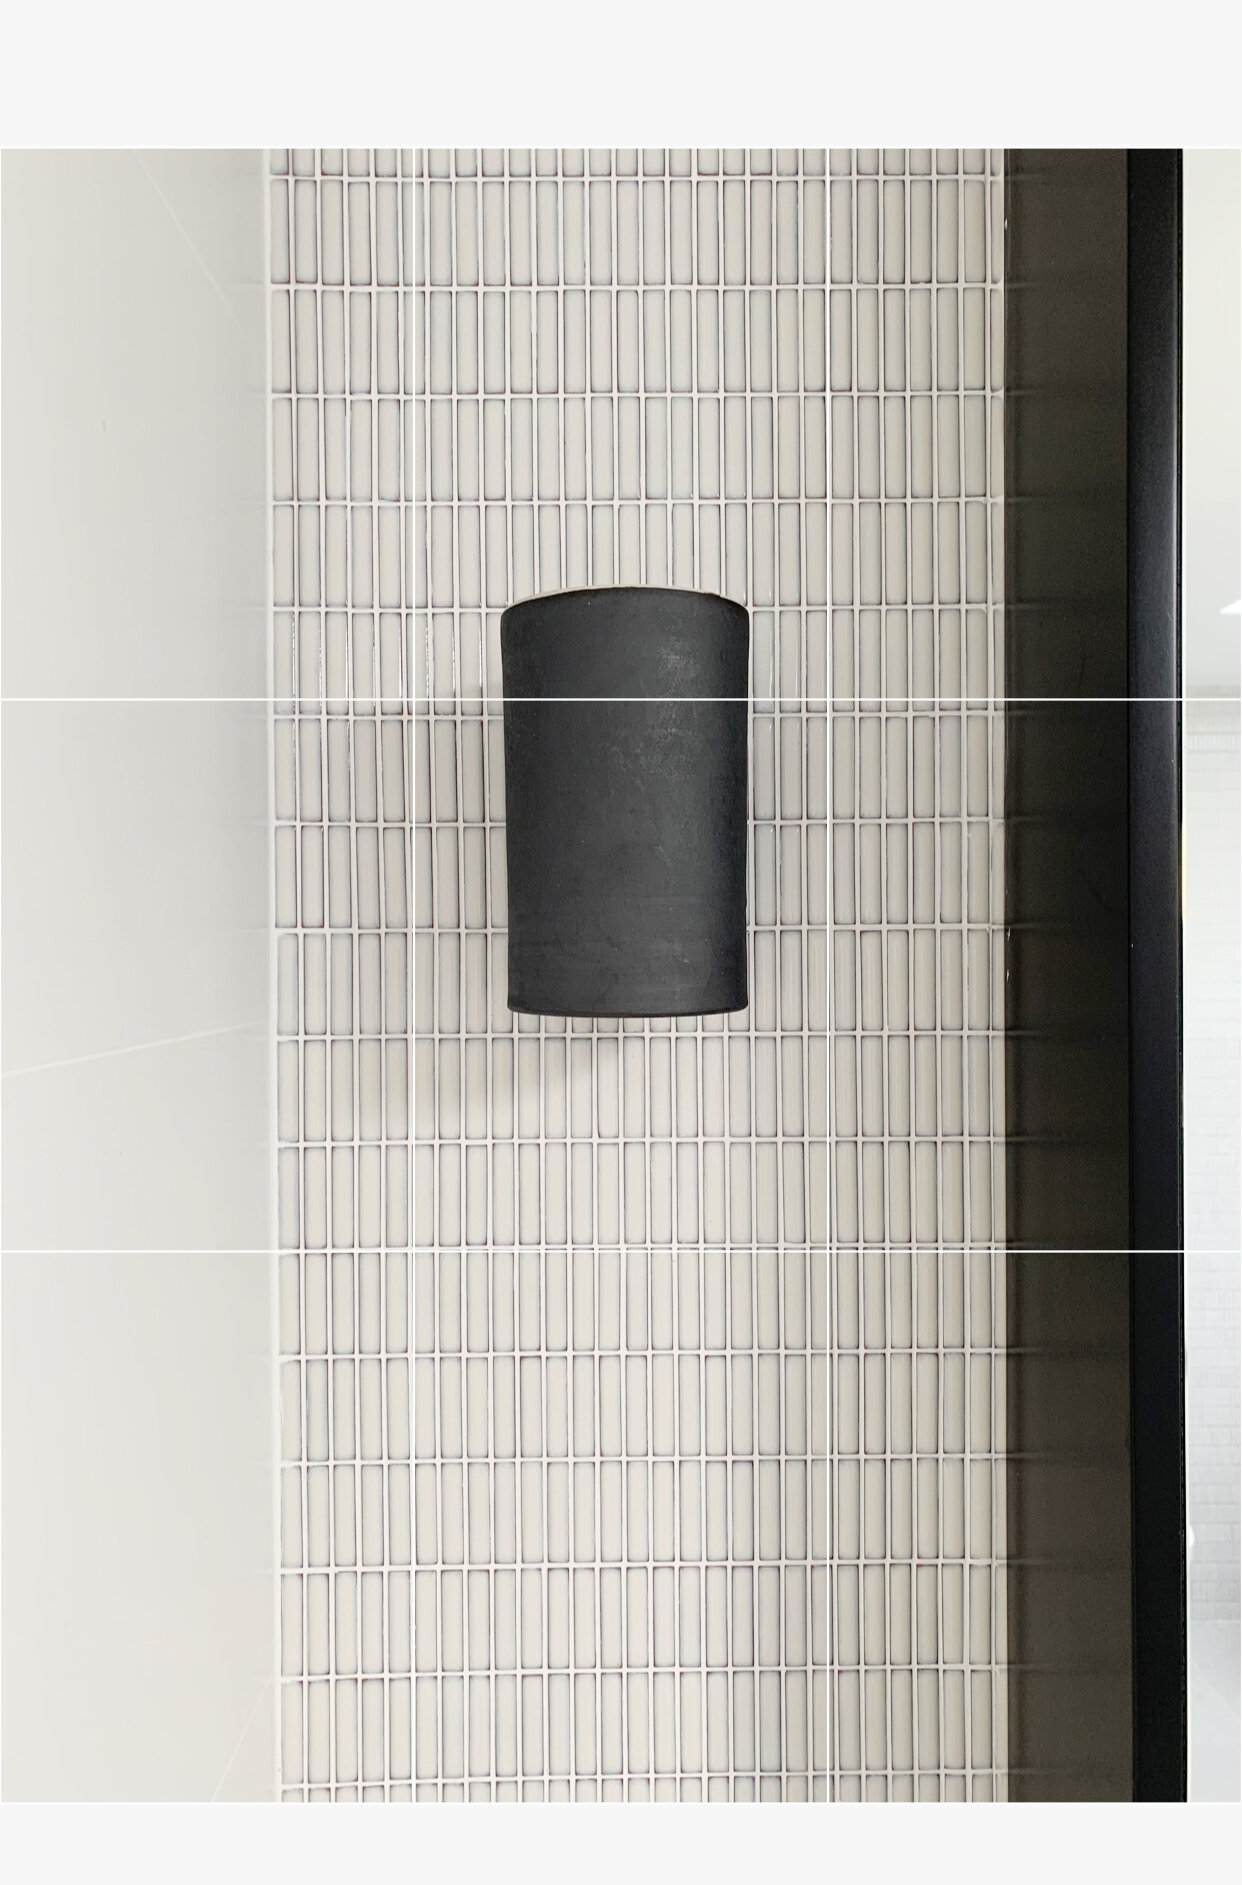

USING GRID LINES TO LINES THINGS UP
Shoot a variety of angles - including close ups (vignettes)
Also make sure that when you are shooting images of a space that you get lots of different views and angles of the same area. This will give you lots of options to work with when you are posting these to your website or social media pages.
Make sure you include:
-
some vignettes (close ups of details in the room)
-
both horizontal and vertical images
-
some images that will work well in a square crop (which you will need for Instagram)
-
different angles - e.g. stand in different places in the room to shoot the same area from different perspectives.
Below you can see some examples of what I mean.


I hope you’ve found some of these tips helpful.
As you can see you absolutely don’t have to get your spaces professionally photographed in order to capture some great images that you can use for marketing your business!