I recently shared how I use SketchUp and Layout in my interior design workflow with clients and some examples of the different drawing sets and documentation I would typically create in one of my residential projects.
In this post I’m extending on from that post to share some detail about the purpose of your interior design drawings and why they are so important.The purpose of your interior design drawings
There is more than one way to create interior design drawings and over my years of working in the industry I’ve seen so many different types of drawings that include all different types of information and all sorts of level of detail.
Some sets I’ve seen have had hopelessly little information - which is really laziness on the part of the designer - while others have included all sorts of information and accompanying documentation (schedules, notes etc.) that make it a breeze for builders and contractors to build the project.
There are of course international drawing and drafting conventions that you will need to learn and adhere to so that people involved in the project can understand what you’ve drawn.
These drawing conventions are what you will learn in design school or if you are working as an untrained designer then it’s your responsibility to educate and upskill yourself on how drawings should be drawn and presented so you adhere to drawing conventions correctly.
But the most important thing to remember about your drawings is that they are a visual representation of your design ideas - they are essentially communication documents between you and the client/project team that detail exactly what your design ideas are and how you would like them to be created.
And there is a balance between how much detail you provide and how much you leave off your drawings.
The more detail your draw the more time this will take you (which means the more cost involved for your clients). However on the flip side remember that anything you leave off your drawings is a decision that is then left to those who are responsible for building or pricing the project. And I’ve found in the past that if I don’t detail something in my drawings and someone else makes the decision on my behalf it’s more often than not different to the decision I would have made!
So it’s always a balancing act between time/cost of your drawing process vs the control you maintain over the finished project.
I have always preferred to err on the side of being more detailed than less detailed, even if this takes me more time. That way I know that my design decisions are being well communicated and everyone is on the same page.
Why your drawings are so important
There’s many reasons why your design drawings and documentation are so important. Here are just some of the main ones:
Professional presentation:
-
The main reason your drawings and the accompanying documents you create are important is that these are a physical representation of what you clients have paid you for and the decisions that you have made together.
-
Adhere to conventional drafting conventions so everyone understands what you have drawn.
-
When putting your sets together make sure you have consistent branding, for example:
-
same font as other collateral in your design studio
-
branded with your logo
-
same colours and style
-
-
Make sure your aesthetic is consistent across everything you produce in your business - including your design documentation - this is all part of your brand.
To convince or persuade clients/stakeholders:
-
Your drawings are there to convey your design ideas
-
They are there to help clients and the project team understand your vision
-
Use lots of detail, lots of visual elements and lots of notes to make sure no decisions are left to interpretation on site.
-
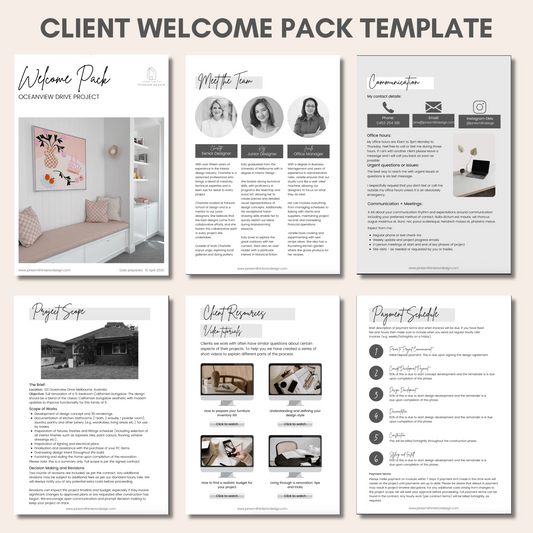
Also remember to take your clients/customers on a design journey - your documents should make them feel excited about their project and what is to come - make them visually appealing!
-
The more you draw and document the greater level of control you have over the outcome of the project. This is a balancing act between time spent drawing and detailing out enough information that your design intent isn’t lost during construction.
Communicating how to build/construct your ideas:
-
Your documentation should include correct and sufficient information so your design can be built
-
Drawings and accompanying documents should include detailed notes, dimensions and breakout boxes/bubbles that show details that might not be immediately obvious.
-
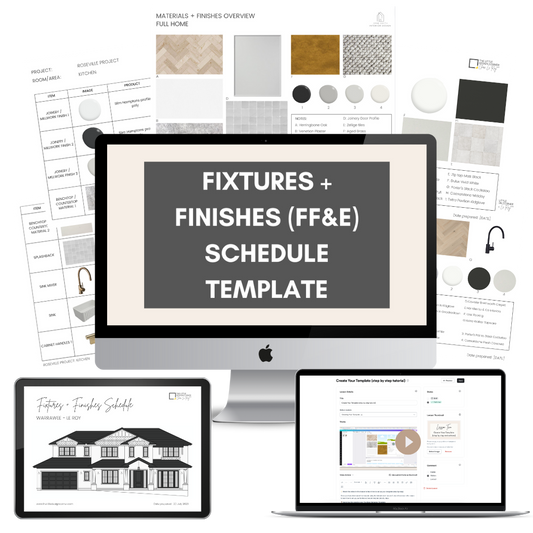
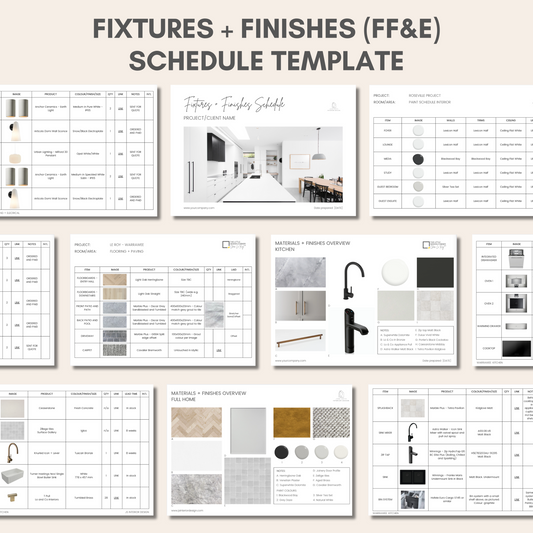
Supply supporting documentation that helps explain your design in more detail - e.g. furniture schedules, fixtures/fittings schedules.
Avoiding errors:
-
Detailed drawings with comprehensive notes are how costly errors can be avoided
-
Think through all the details of your project and forward plan for situations that might arise - think about potential errors or potential areas of misunderstanding in advance and document for these.
-
Never make assumptions that you think are obvious - you are better off over documenting than under documenting.
-
Make sure you double and triple check all your documentation for errors - I have seen examples of conflicting notes in documentation sets that have resulted in extremely costly errors that need to be fixed (at the cost of the designer). One example was a designer who forgot to update a client change to cabinetry colour on final drawings and then had a kitchen installed in the wrong colour, that they then had to pay to have fixed - it was about a $30,000 mistake.
-
Never sign off on documentation when you’re in a hurry or distracted - this could result in a very expensive problem for you in the future.
Being useable even without you around (in case clients move on without you):
-
Not all clients will have you involved in construction or project delivery (not ideal but it does happen) so make sure your drawings have enough detail that they can be used even without your involvement.
-
As much as you may not like that - your clients have paid you for this step and some clients don’t have a designer involved in the project delivery/construction phase - especially if budgets start to tighten.
Avoiding risk:
-
Avoiding risk is important in order to protect your business when errors arise on site and your drawings will help protect your business if/when things go wrong (generally more when than if as mistakes happen on building sites all the time).
-
Your drawings are part of your written proof of design decisions that have been made between you and your clients.
-
The drawings are just one part of this though - make sure you always keep detailed paper trails of all decisions made throughout a project e.g. via emails, texts and other forms of written communication.
-
Make sure you have legal disclaimers on all your drawings - seek professional advice from a lawyer on this to make sure the legal disclaimer actually covers the type of work you do. It is not recommended that you just copy this from disclaimers you see on other designers’ drawings as they may not cover your business or the type of work you do.
Finally remember that you are just one part of a large collection of consultants involved in a typical project (e.g. architect, engineer, surveyor). Make sure your part is comprehensively documented and you have enough detail to help manage risk involved in your work and communicate your design intent.
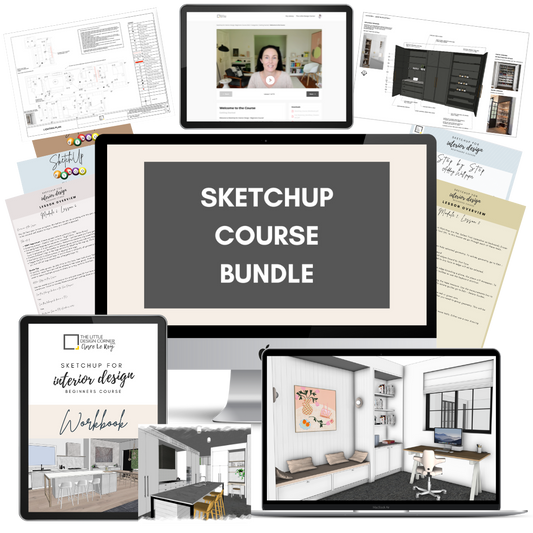
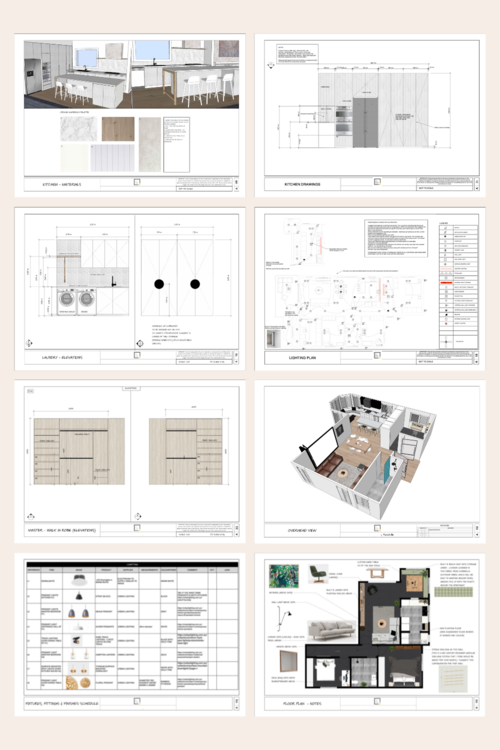
Create professional interior design drawings in SketchUp + Layout…
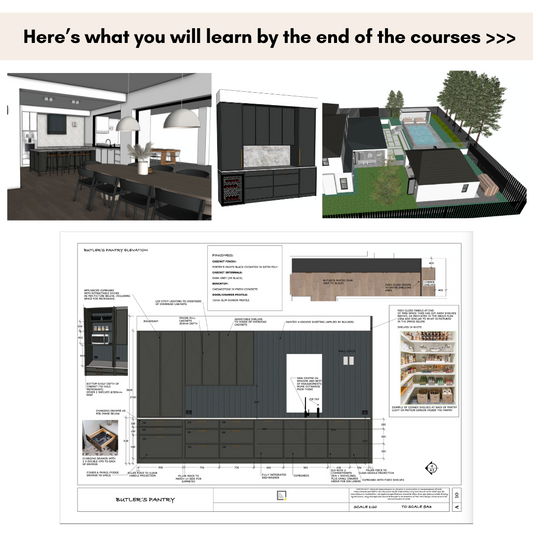
Many designers don’t realise that you can create full professional interior design drawings using SketchUp and Layout. With this software you can mock up client projects in 2D (floor plans, joinery/millwork elevations, lighting and electrical plans and more) and 3D (renderings and perspective drawings of your home) plus prepare your technical drawings as well.
Learning SketchUp and Layout will save you time, money, mistakes and help you maintain control over your design.
I teach an online course for beginners that is focused specifically on using SketchUp and Layout for interior design purposes. We have had nearly 4000 students come through the course with so many fantastic homes designed and built!
To find out more about the courses we have on offer click the link below. And reach out if you have any questions I can help with :)
Enjoy the rest of your day!
Clare x