
Wardrobe/Closet design: tips, tricks and measurements
Today I’m expanding on a popular post over on my Instagram page where I shared some wardrobe joinery (millwork) design tips, tricks and measurements. In the post I will share some tips on getting the depth and dimensions right for your wardrobes/closets and then also share my tips on designing the internals of the wardrobe and how to plan it the right way for your needs.
Before we get started - in this post I will refer to wardrobes as that’s what we call them here in Australia - but I am talking about closets here if you’re in North America or elsewhere in the world and prefer that terminology :) I will also try and include measurements in both metric and imperial system for you as well!
Wardrobe/Closet Depths
The depth of your wardrobe will depend on what you are storing.
Here’s a few standard measurements:
Standard depth of a wardrobe/closet is normally 600-650mm (24 inches).
The minimum wardrobe depth could be as little as 500mm (20 inches), but hangers will likely need to be turned slightly to make this work and this depth won’t be suitable for clothes of a larger person with broad shoulders. This depth normally works better for wardrobes with no doors - and I would recommend only using this depth if space is a problem
Shoe shelves are normally around 300-350mm (12 inches) but I always recommend measuring the shoe length of the largest person who is using the wardrobe before deciding on the final depth.
Shelves for folded clothes normally run with the same depth as the rest of the wardrobe.
Wardrobe/Closet Design Tips
Make sure you choose carefully between sliding and hinged doors. Think about furniture placement in the room and make sure hinged doors will be able to open once furniture is in the room. This is especially important for children’s or spare bedrooms that may be on the smaller side.
Keep the maximum width of a single hinged door on a built in wardrobe in a bedroom to around 600-650mm (24 inches). This will allow for flexibility of furniture placement in the room and also avoid any warping on larger doors.
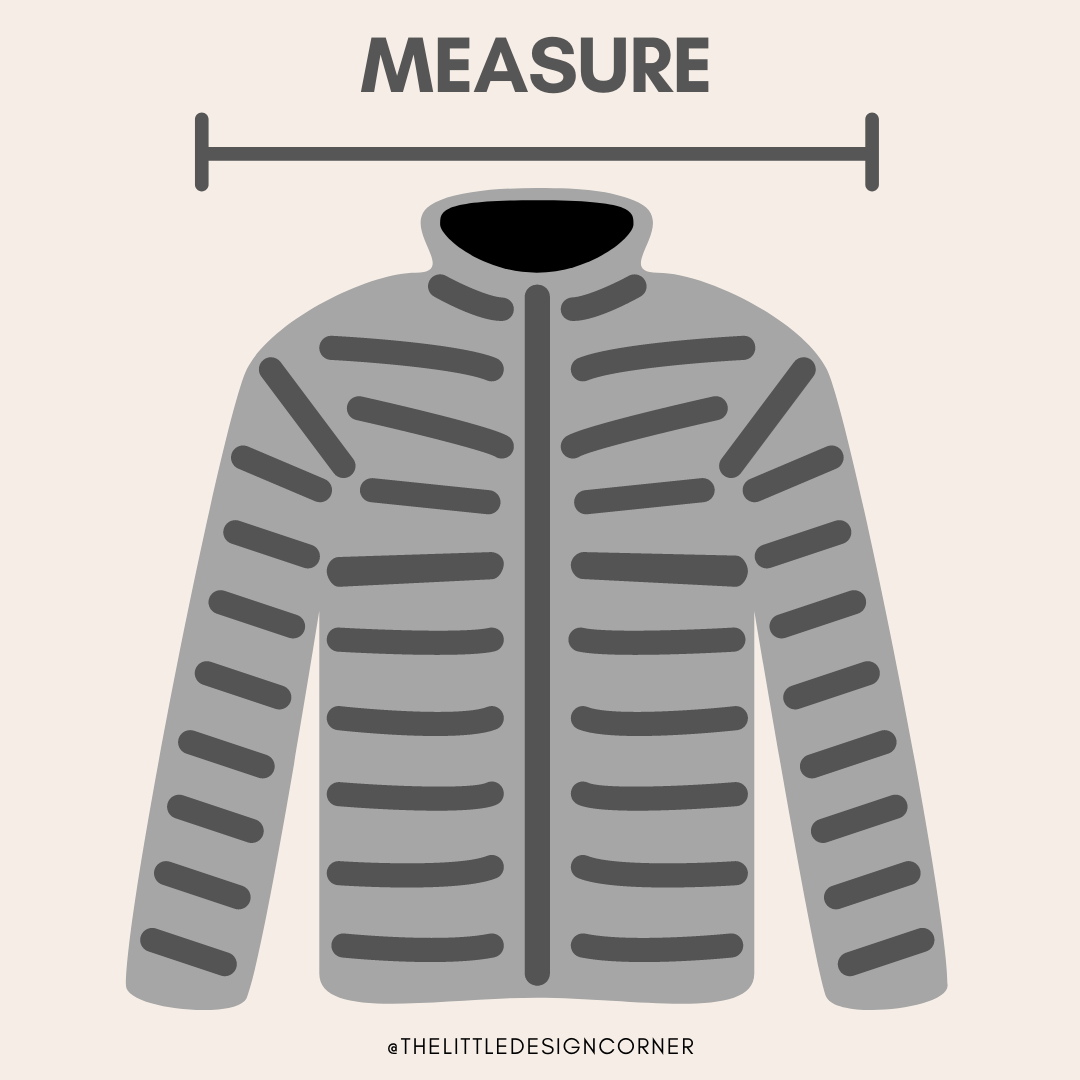
If space is a problem then measure the width of the largest clothing items the users of the wardrobes have across the shoulders (see below) - then design the wardrobe to just a little larger than this depth
In terms of materials to choose - you have endless choice here. Most wardrobes/closets are made from melamine but this can look a bit cheap so avoid this in higher end homes. The most expensive option is to create the wardrobes from real timber but if that’s out of your budget then a good alternative are laminates that look like timber. There are many excellent ‘timber look’ laminates on the market and lots of a textured grain look that make them appear more realistic.
As a general rule - the more higher end/expensive the home, the more higher end/expensive the finish of the wardrobes should be, especially the walk in wardrobe in primary suite (master bedroom).
Consider the lighting at the time of planning. In walk in wardrobes it can be nice to have LED strip lighting as it has a high end look for very little extra cost. But this will need to be factored in at the planning stage as it won’t be able to easily be added after install. Remember to go with warm LED strips over cool ones!
Lots of people forget to think about where they can add a mirror, especially in walk in wardrobes - so remember to plan that in before building.
Doors or no doors on walk in wardrobes? This one is really personal preference. Do you prefer to see what you have or close it away as it looks messy? Do you have allergies and want to have doors to avoid too much dust getting on your clothes? Do you have expensive items that are best kept behind doors to protect them? Does a lot of sunlight come in the room (which could fade your clothes)?
Keep in mind that doors on your walk in wardrobe will significantly increase the cost of the wardrobe. If you have higher end finishes in the joinery/millwork then I suggest keeping the doors off and showing off what you’ve got! Plus it’s easier to see and find things quickly when you need them.
If you have very expensive items to store (e.g. handbags or formal wear) then make sure you consider the ventilation of the room to ensure these items don’t go mouldy. You may need a dehumidifier if you don’t have good airflow.
Wardrobe/Closet Internals
The most important thing to consider as you get started with planning your wardrobe/closets is what sort of lifestyle you have. Are you like me and mostly have casual and active wear to store (which means I need lots of drawers and folded space) or do you have a huge formal wear collection that needs to be stored (which will require lots of long hanging space)?
Here’s my tips for designing your wardrobe internals:
There is no such thing as an ‘ideal’ wardrobe or closet. The biggest mistake you can make is not planning properly in advance or just taking the advice of a wardrobe/closet installer as to what you might need in your space. If you want to create the perfect wardrobe for your needs then you must take a lot of time to carefully plan your space for YOUR exact requirements.
When you start planning make a list of everything that needs to be stored and ensure there is sufficient space for all the items. Each person uses their wardrobes/closets differently and has different requirements - e.g. if you’re a shoe lover then make sure you have lots of shoe storage and count up exactly how many pairs will need to be stored. Also - do you need tie racks, lots of hanging space, more folded space, extra drawers?
Some things to consider as you plan your space are:
jewellery
purses and handbags
watches
ties
belts
suits
shoes
winter coats (these will be bulky and take up a lot of room)
swimwear
hats
underwear
formal clothes (long hanging) - also how tall are you? Make sure the long hanging is the right height for your clothes!
sunglasses
active wear
folded clothes
clothes you want to hang
personal items
makeup/dressing table (but this will take up valuable storage space to consider whether you have the space for this)
If a wardrobe is shared then think how you will divide up the space and where each person’s items will go
Do you want somewhere to sit? This can be helpful for putting on socks - but it can be a luxury if space is limited.
Knits are best folded rather than hung to avoid them becoming damaged on hangers.
Think about using accessories like clear bins, baskets or boxes to organise and store things on shelves. IKEA have some good options if you’re on a budget!
If you don’t have a lot of room then consider having secondary storage elsewhere in the house and do a seasonal rotation of your clothes
Remember to design for growth - if you have 25 pairs of shoes now then don’t only allow for those shoes in the wardrobe. You are very likely to buy more in the future so have some space for future growth.
If you’re limited with space then choose slim-line hangers for your clothes as you’ll be able to fit more in. I personally love all my hangers to match - looks so much nicer :)
Use inserts in drawers - again IKEA have great ones - or if you have extra budget then get these included by your cabinet maker. Small felt boxes can help to keep smaller items more organised inside your drawers and they look nice too!
Do you need any electrical sockets/power points in the wardrobe? Always good to include at least one I think.
Measurements for wardrobe/closet internals
Here are some general rules for the measurements of the internals of your wardrobe/closet. These are just a guide - I recommend that you always measure your own clothes to get specific spacings that work for you without wasting space.
Allow about 950mm (H) for short hanging space (37/38 inches)
Allow about 1900mm (H) for long hanging space (75 inches)
Remember to include a 3/4 hanging level as well if you need it for shorter dresses or longer coats
If you include drawers take the bank to a finished height of around 900-1100mm (38-43inches). Make sure to factor in the end user when considering the height - they need to be able to see inside the top drawer!
Wardrobe shelving and drawers are normally finished to a depth of 450-500mm (approx 18 inches), depending on the overall depth of the wardrobe
Measure the height of all shoes that need to go in the shoe shelves - e.g. what height is needed for the high heeled shoes, are there long boots that need to be stored? Measure all shoe heights to make sure they will fit!
Keep your shelves adjustable rather than fixed - this will give you maximum flexibility
Taller people can have higher top rails than shorter people (which will give them a bit more storage space)
And one final tip - remember that good design and planning of your wardrobe costs exactly the same as bad design and planning!
Many people rush the design of their wardrobes (including the internals of children’s wardrobes or other storage spaces around the home) or they just take the advice of whoever is installing it for them and as a result they don’t end up with the right storage needs for their individual requirements.
So take time to really think and plan what you need in your space. Draw it up and make sure everything fits. You can either do this by hand on a piece of paper or you can use a program like SketchUp (see below). You’ll be very happy you spent a little extra time on it once it’s built - trust me :)
I hope some of these tips have been helpful! If you’ve got other tips then comment below - I would love to hear them!
Design your wardrobe/closet cabinetry in SketchUp

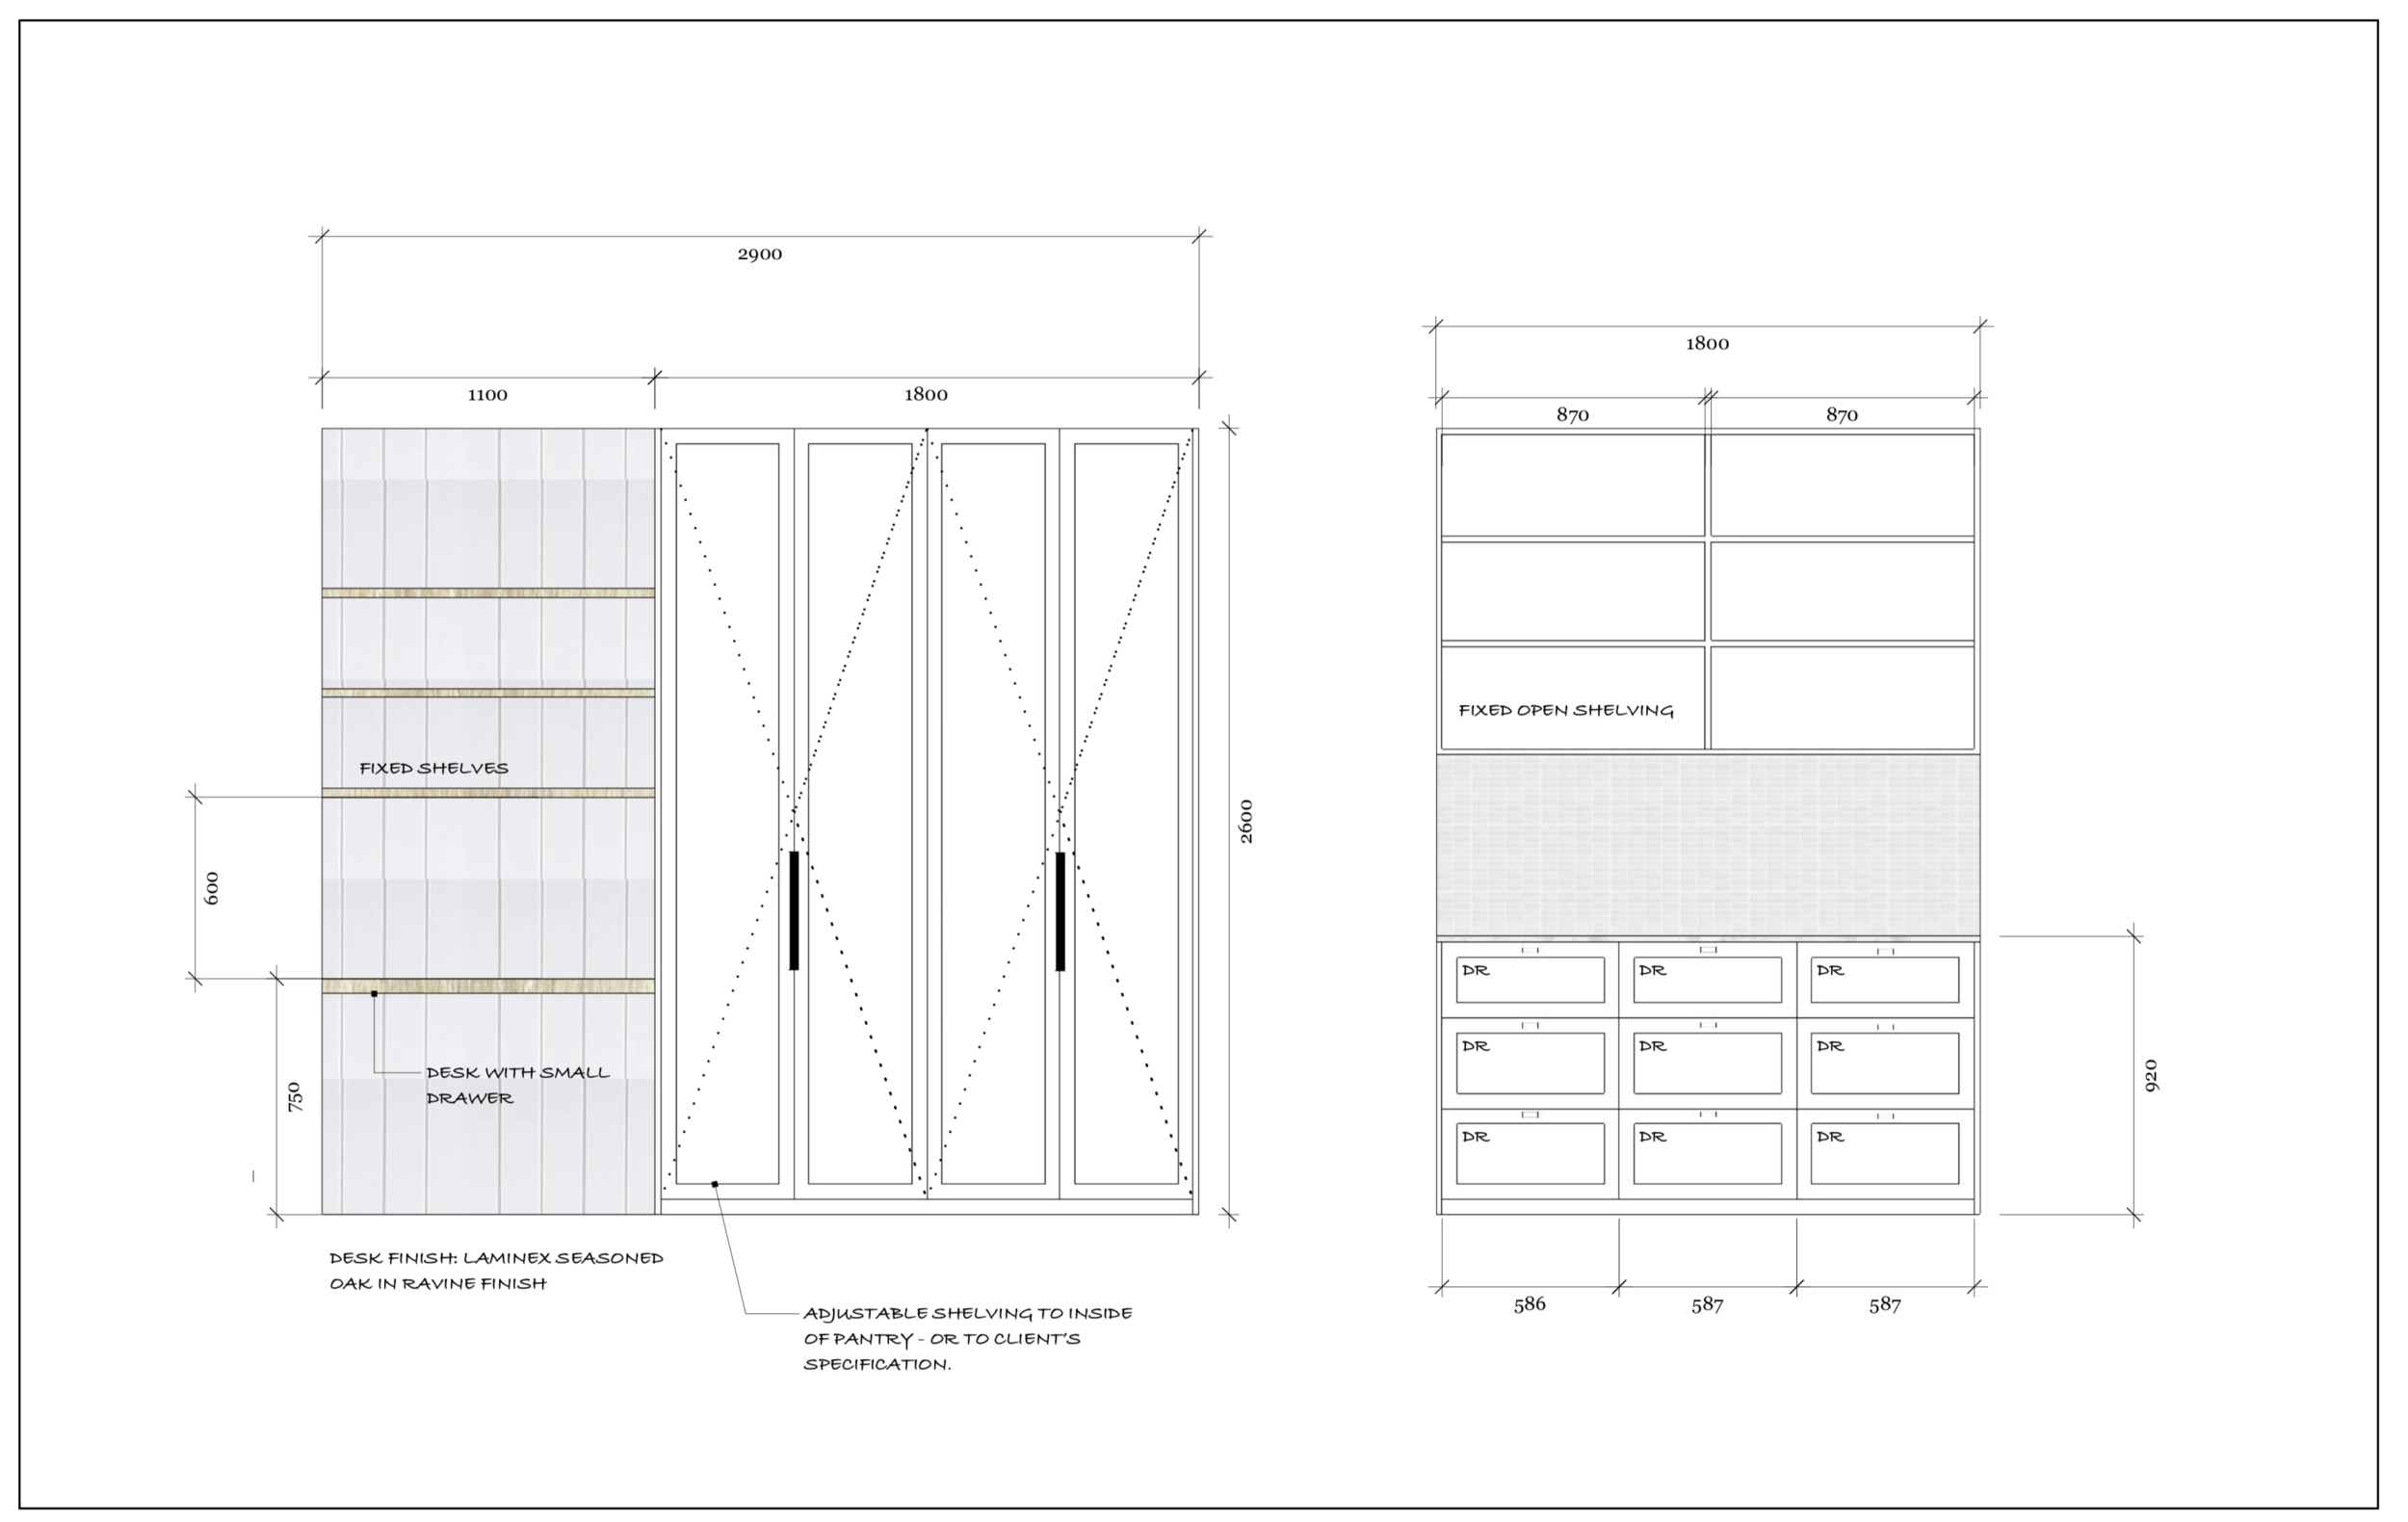
If you want improve your work with design clients or you are about to start renovating or remodeling then you will love SketchUp.
With this software you can mock up an entire home in 2D (floor plans, joinery/millwork elevations, lighting and electrical plans and more) and 3D (renderings and perspective drawings) so you can picture exactly what it will look like when it is finished plus prepare your technical drawings for use with your clients, trades and contractors.
Learning SketchUp will save you time, money, mistakes and so much more! It is a well known piece of software in the interior design and architecture industries and will give you a solid technical drawing skill that will immediately upgrade the professionalism of the work you are doing.
I teach an online course for beginners that is focused specifically on using SketchUp for interior design purposes. We have had more than 10,000 students come through the course with so many fantastic projects designed and built!
We have all sorts of students in the course including designers and architects, cabinet makers, home renovators/remodelers, kitchen and bathroom designers, event planners, landscape designers and design enthusiasts.
To find out more about the courses we have on offer click the link below. And reach out if you have any questions I can help with :)
Enjoy the rest of your day!
Clare x
Dr Clare Le Roy